We have a strict honest review policy, but please note that when you buy through our links, we may receive a commission. This is at no extra cost to you.
In this post, I’ll show you how to connect Printify to Shopify. Read on to discover how to set up an account with both platforms, access essential free dropshipping resources and add your customized Printify products to your Shopify storefront.
1. Start a free Shopify trial
Note: if you already have a Shopify store, you can jump ahead to step 2 below.
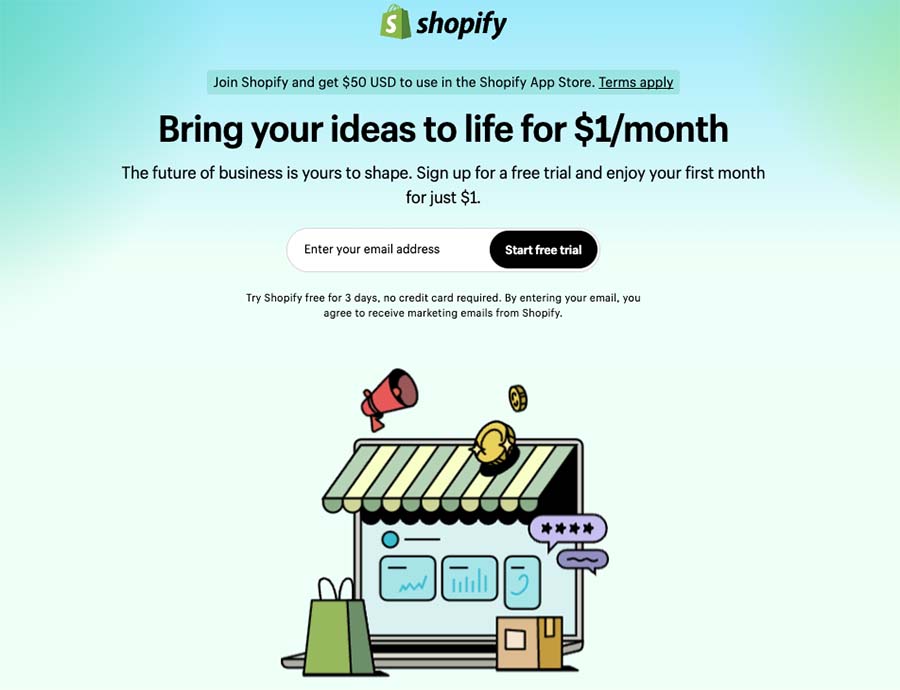
The best way to start a Shopify store is by signing up to a free trial of the platform. Shopify’s free trial lasts for three days, after which you get access to your first month of Shopify at a discounted price of just one dollar.
However, print-on-demand sellers can also avail of an alternative version of the Shopify trial in the form of Shopify’s ‘dropshipping starter kit’. This is a different version of Shopify’s free trial that is specifically made for dropshippers and POD sellers.
It provides access to the standard free trial along with a full set of specialized dropshipping resources, including lots of useful materials on how to grow a print-on-demand business using services like Printify.
You can access the regular trial here, or the special dropshipping trial here.
With your Shopify trial up and running, the next step is to create your Printify account.
2. Create your Printify account
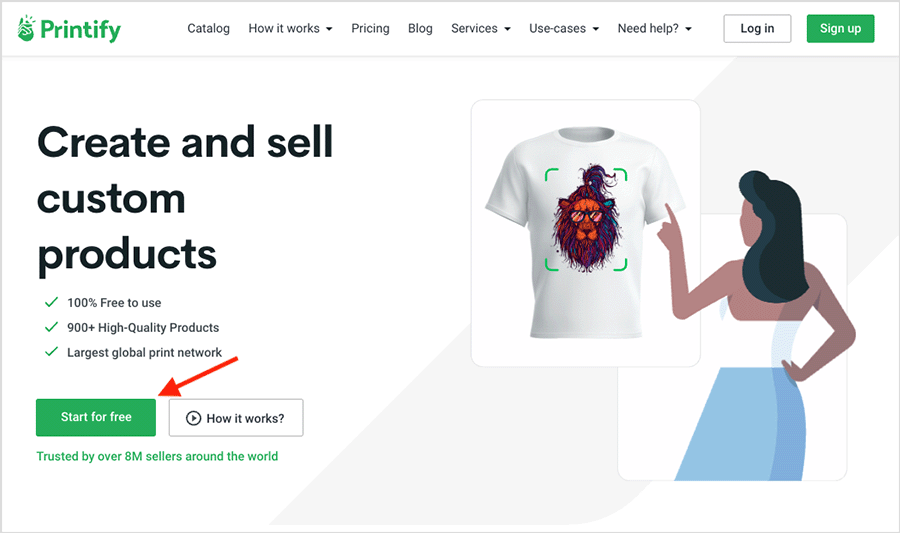
To create a new Printify account, just go to the Printify home page and click on the green ‘Start for free’ button.
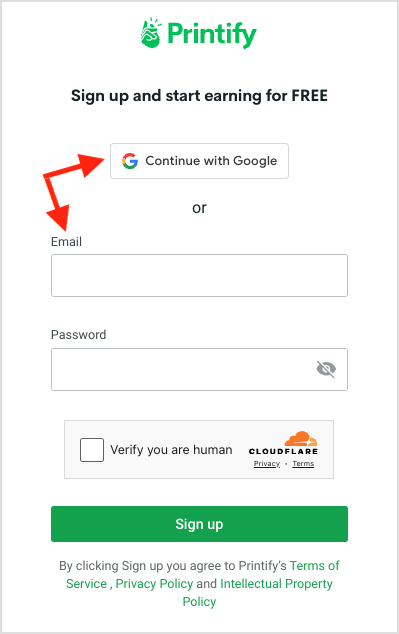
This lets you sign up to the Printify platform using your email account or by signing in with your Google account.
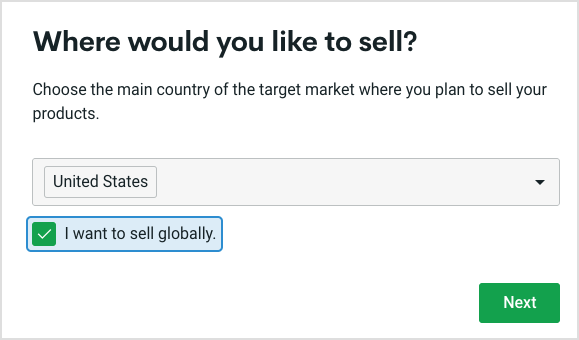
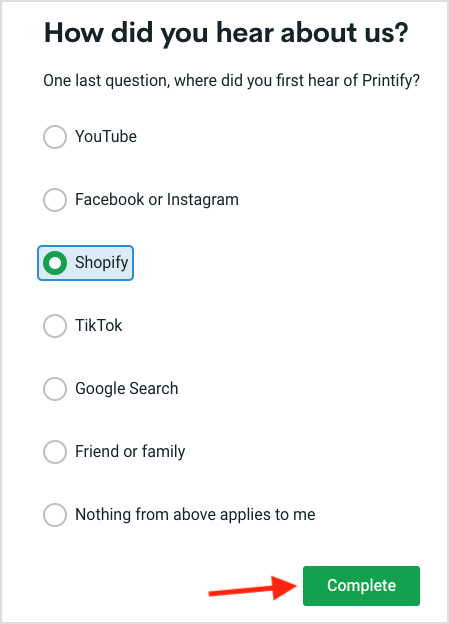
Once you sign up, Printify asks for some information about your experience designing POD products, your business background and where you plan to sell your products.
When you’ve provided your answers, simply click the ‘Complete’ button to go to your new Printify account.
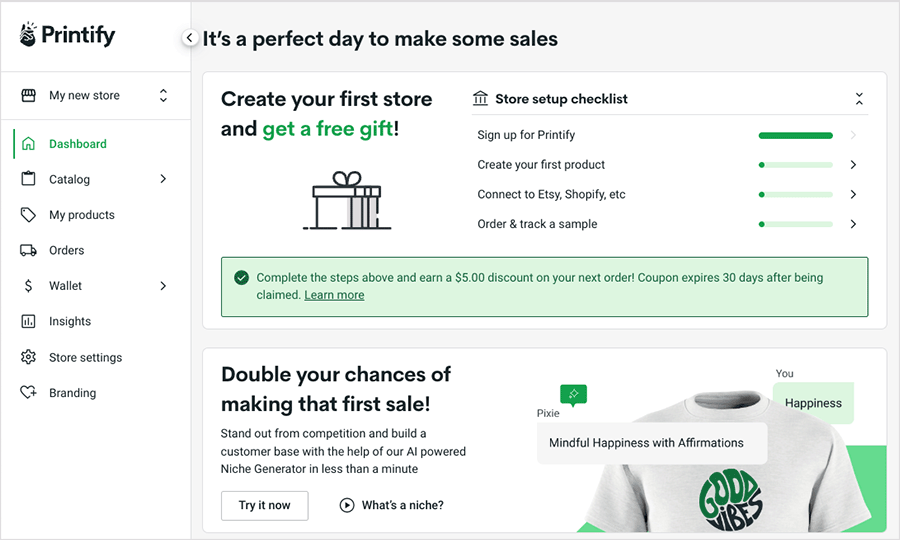
You’ll now see your Printify account dashboard which gives you access to all of the platform’s main features: its extensive product catalog of 900+ customizable products, its product design tool, integration options, order management settings, your Printify account balance and much more.
With your Printify account set up, it’s time to connect Printify and Shopify.
To do that, head back over your Shopify store and…
3. Install the Printify app for Shopify
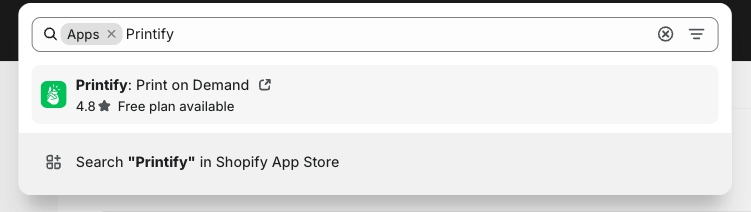
To connect Printify to your Shopify store, click on ‘Apps’ at the bottom of the left hand menu of your Shopify dashboard.
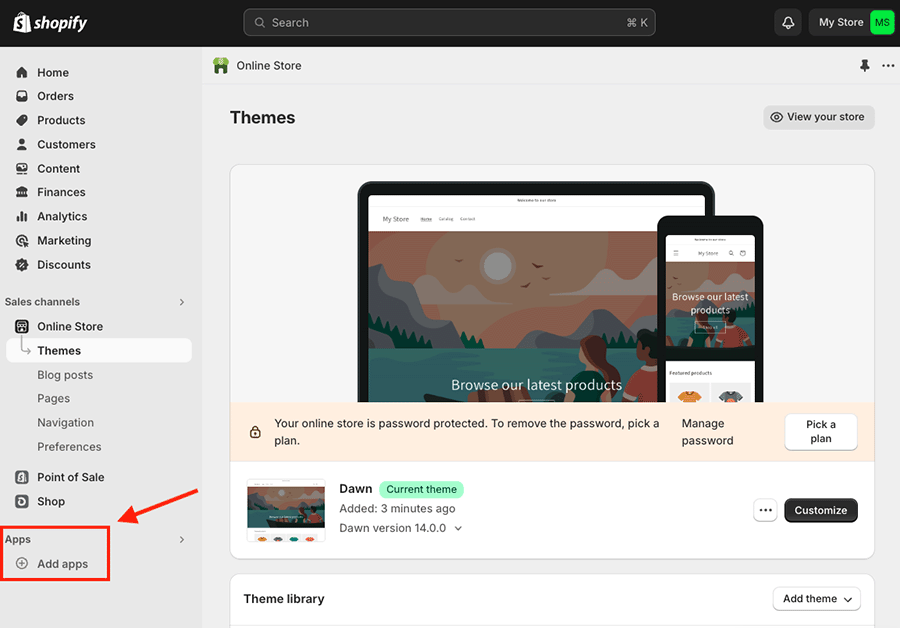
This opens up a search box at the top of the screen.
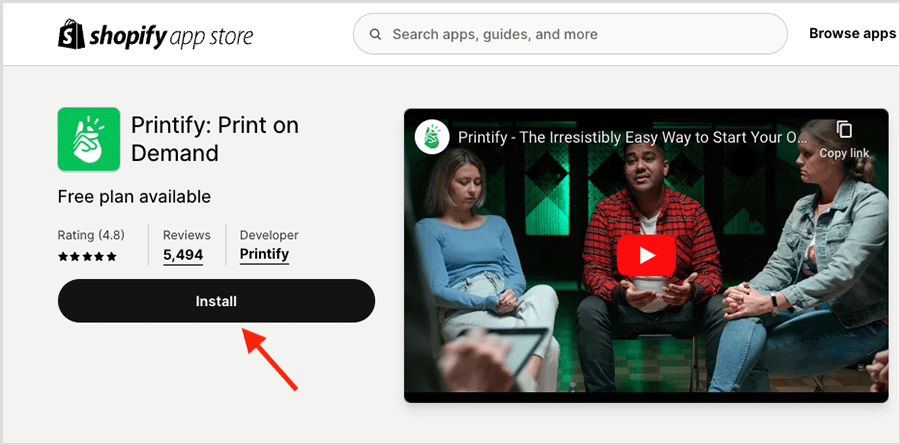
Simply enter ‘Printify’ into the box. and when the Printify app appears, click on it to go to the main Printify app page.
At this point, press the ‘Install’ button on the Printify app page.
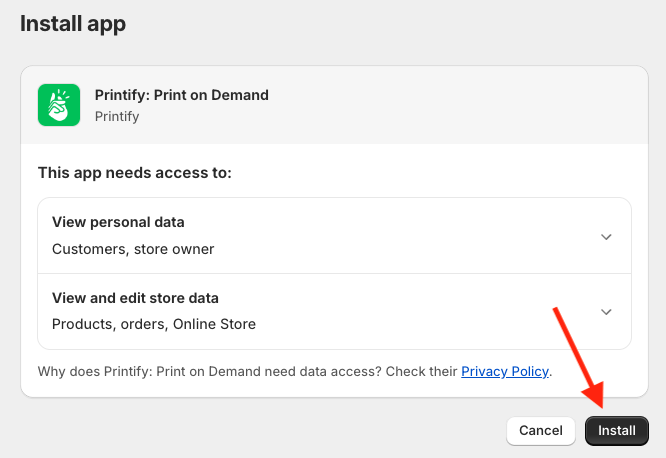
You’ll then be asked to confirm that you want to install the Printify app to your store. Do this by pressing ‘Install’ on the ‘Install app’ confirmation page (pictured below).
Once you confirm that you’re happy to install the Printify app on your Shopify store, the Printify log in page will appear inside your Shopify dashboard. Log in with your email or Google account.
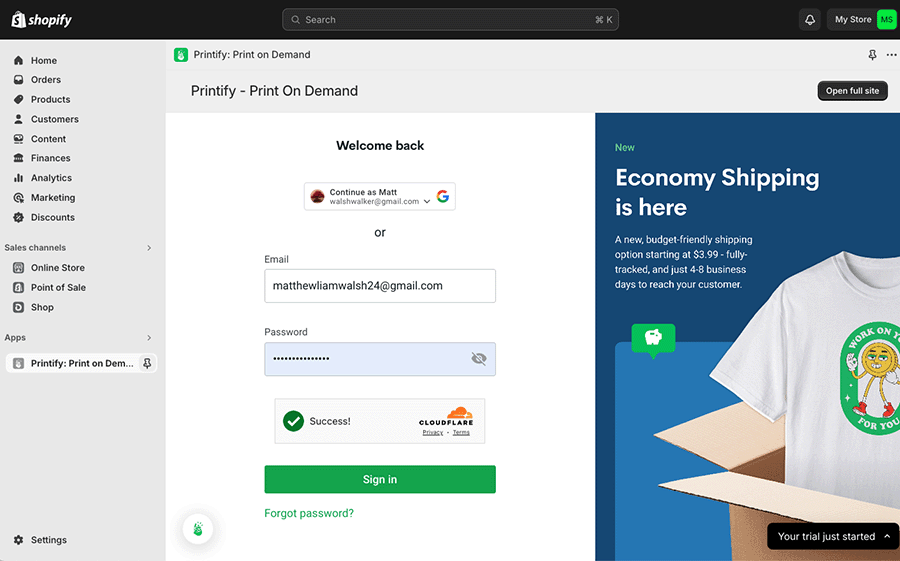
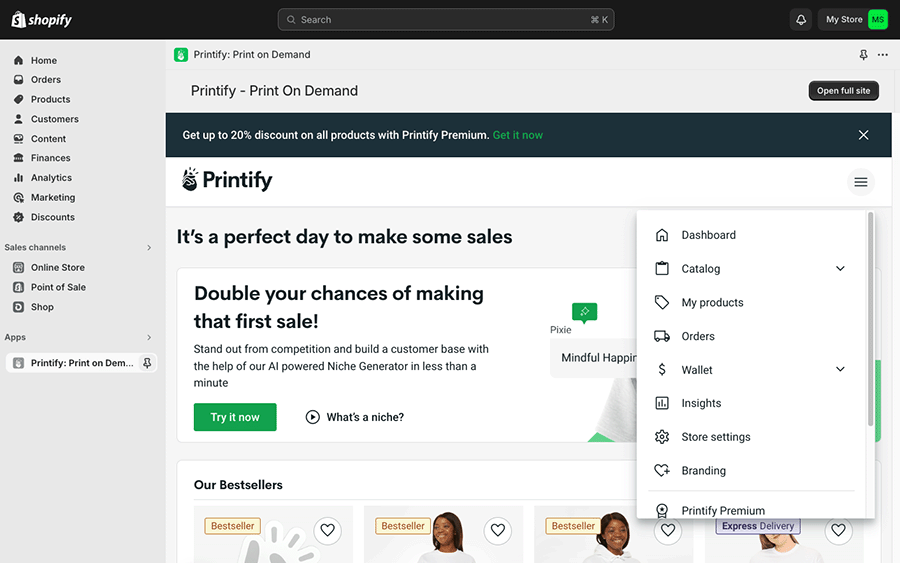
Once you have signed back in to Printify, you will now be able to access your Printify account from within your Shopify dashboard, and start creating products to list on your Shopify store.
So, let’s make our first Printify product and list it on our new Shopify store next.
4. Add your Printify products to Shopify
To create your first Printify product for your Shopify store, navigate to Printify’s product catalog to select a product to customize.
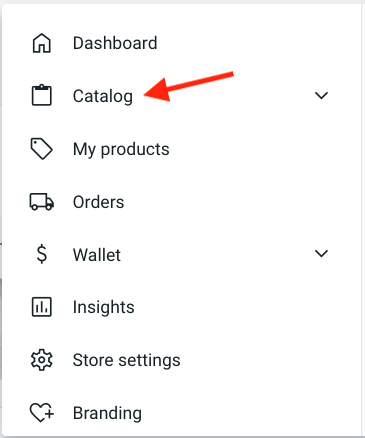
Browse through the available products and select the one you’d like to add your design to for your first Shopify product.
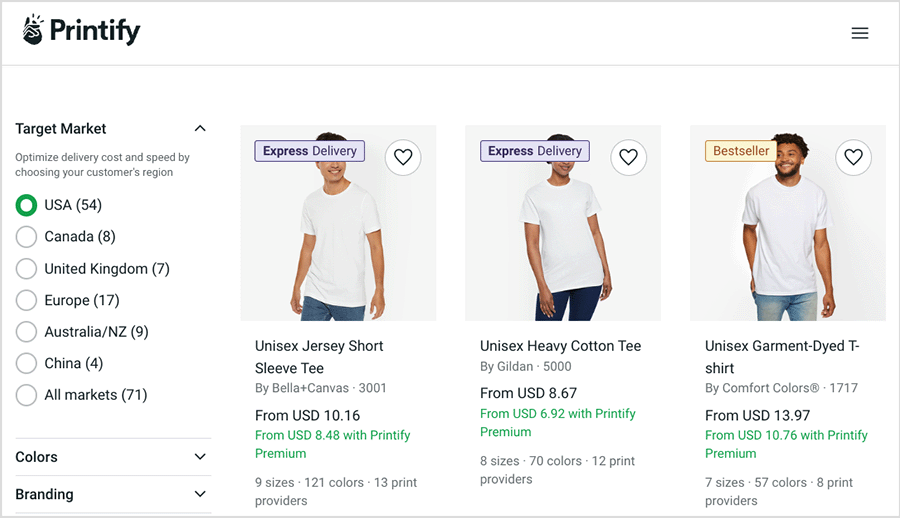
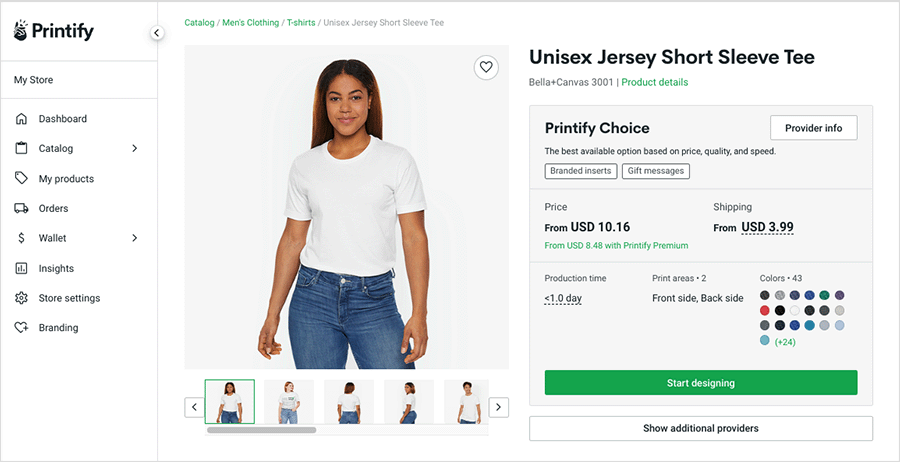
When you’ve chosen a product, click on it to go to the product details page.
Now, one thing to note here is that Printify automatically suggests a preferred print provider to fulfill your product for you; if you’re happy with its selection you can hit the ‘Start designing’ button to add your custom design.
However, it’s important to remember that with Printify you can choose from a huge range of print companies, each of which offers different pricing options, shipping rates, product colors and sizes.
So, if you want to have more control over who prints your product, click on the ‘Show additional providers’ button to find a company that best fits your needs.
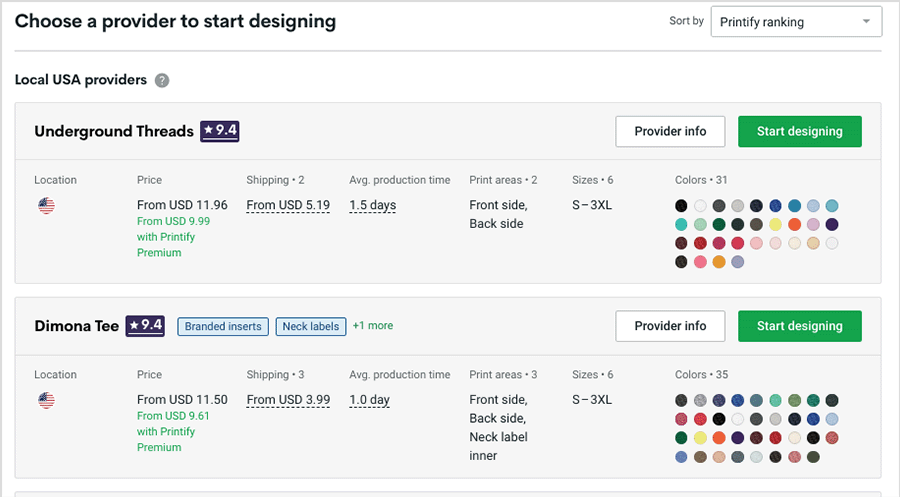
Regardless of whether you go with Printify’s selection or a print provider of your choice, click the ‘Start designing’ button to go to the design interface to add your design.
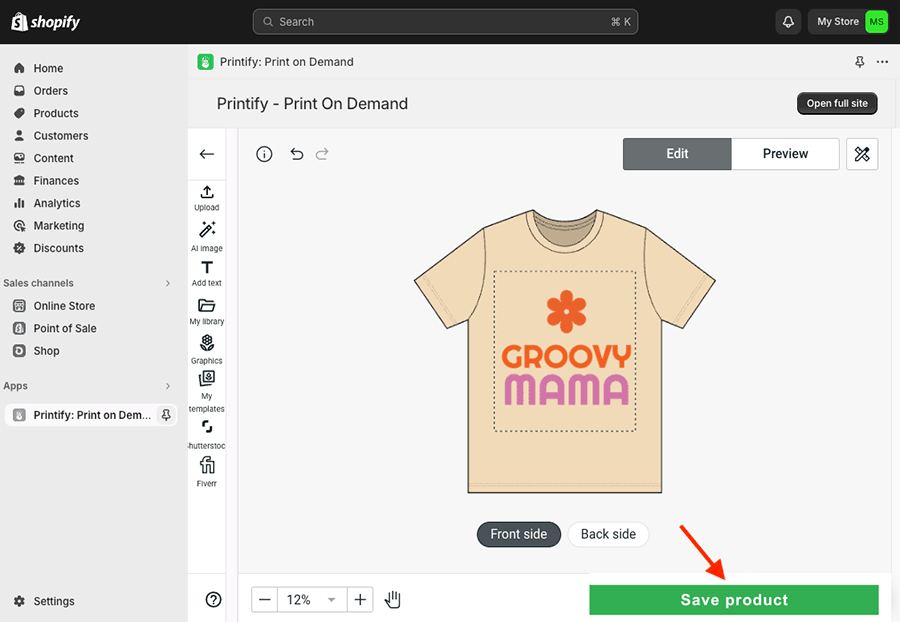
Now, creating a product design using Printify’s designer is very straightforward. You can easily upload artwork files, add text and stock imagery, or even create an AI image to use in your design.
Once you’ve got your design completed, click the ‘Save product’ button.
Next, you’ll be taken to a screen that lets you:
- select your product mockups
- add your product title and description
- add product tags
- set your shipping method
- add your product pricing
- add your product to other collections in your Shopify store.
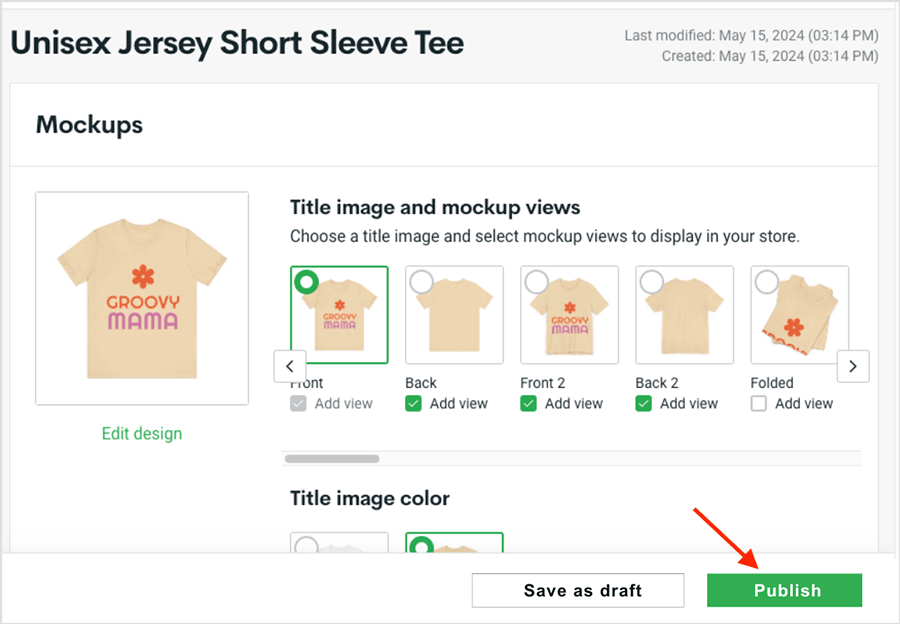
When you have completed all these steps, simply click the green ‘Publish’ button, and your new product will immediately appear for sale on your Shopify storefront.
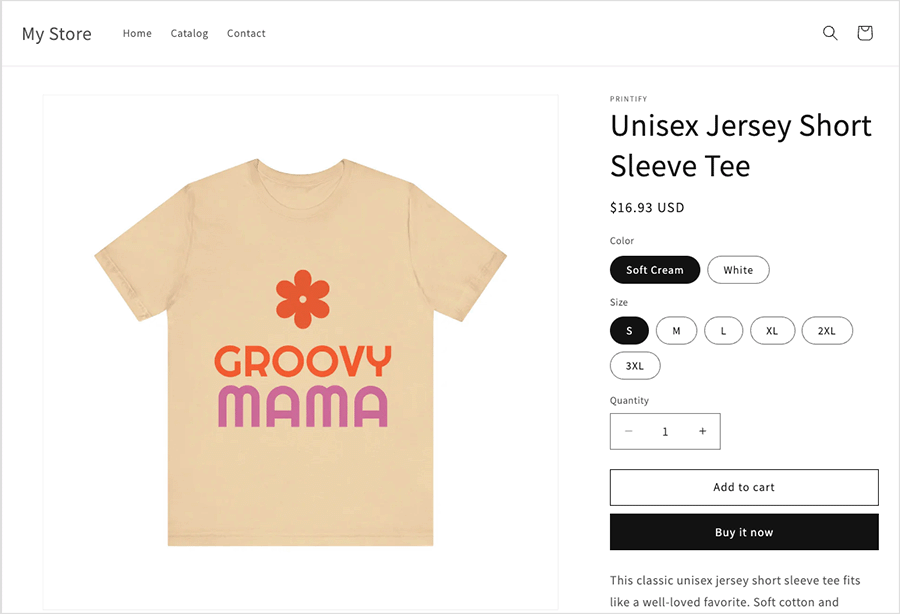
Congratulations! Your first Printify product is now available for purchase in your Shopify store. Simply repeat these steps to add more custom Printify products to your store.
And once you have a few products on sale, it’s time to…
5. Promote your POD store
Now that your POD store is launched, there’s lots of things you can do to do to drive traffic to it and start making sales.
Here are a few tips on doing just that:
- Perform search engine optimization (SEO) on your Shopify store— this involves configuring your store pages, products and content in a way that encourages Google and other search engines to rank it highly in organic search results. Check out our Shopify SEO checklist to find out how to boost your Shopify store’s rankings.
- Create content marketing campaigns — make the most of Shopify’s built-in blogging tool to promote your brand and attract people to your POD products. By regularly posting engaging blog articles that focus on topics and trends aimed at your target market, you can significantly improve your search rankings and increase organic traffic to your store. Read our guide on how to increase blog traffic to learn how to perform content marketing effectively for your store and its products.
- Use email marketing — Shopify comes with an excellent email marketing tool — Shopify Email — that you can use to promote your Printify products, announce new designs and offer discounts to your e-newsletter subscribers. Our guide on how to grow an email list contains lots of tips on how to grow this audience.
- Think about using online advertising for your new POD store. Even with a small budget of just a few dollars a day, you can achieve impressive sales through services like Google Ads and Facebook Ads (provided you set up the ads correctly). These platforms offer highly advanced targeting options for niche audiences.
No comments