We have a strict honest review policy, but please note that when you buy through our links, we may receive a commission. This is at no extra cost to you.
In this post, I’m going to show you how to add Printful to WooCommerce. Read on to discover how to set up an account with both platforms and how to add your Printful print-on-demand products to your WooCommerce online store.
Article contents
- Create your Printful account
- Add the WooCommerce plugin to your WordPress account
- Install the Printful plugin on your WordPress account
- Configure your WordPress permalink and WooCommerce API
- Connect your WooCommerce store to Printful
- Add your Printful products to WooCommerce
- Promote your Printful / WooCommerce store
1. Create your Printful account
To sell Printful products on a WooCommerce online store, the first thing you’ll need to do is get yourself a Printful account.
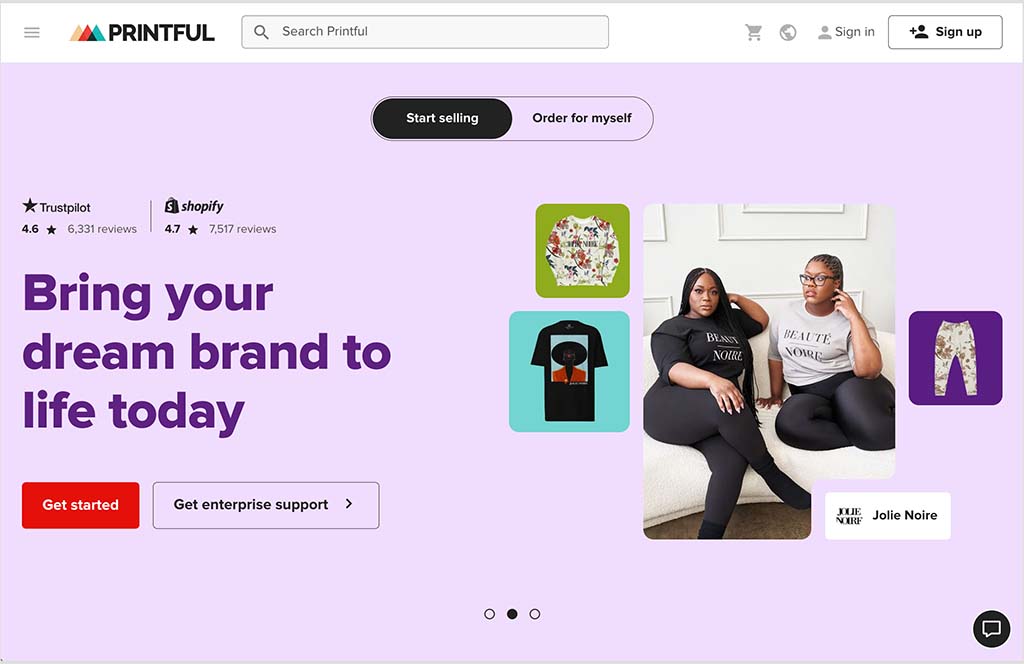
To create your Printful account, go to the Printful home page and click on the red ‘Get started’ button to go to the Printful sign up page.
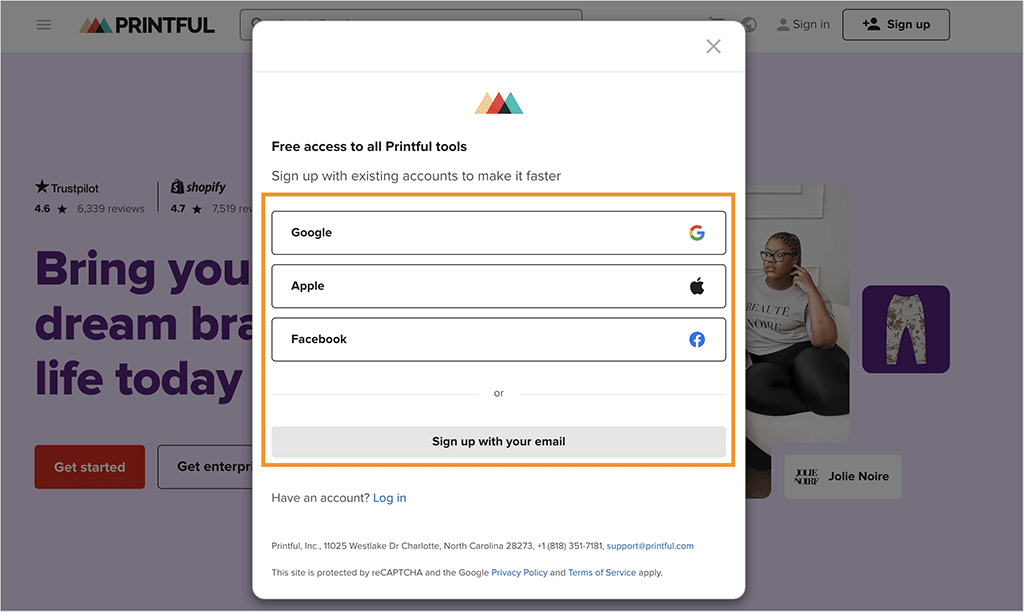
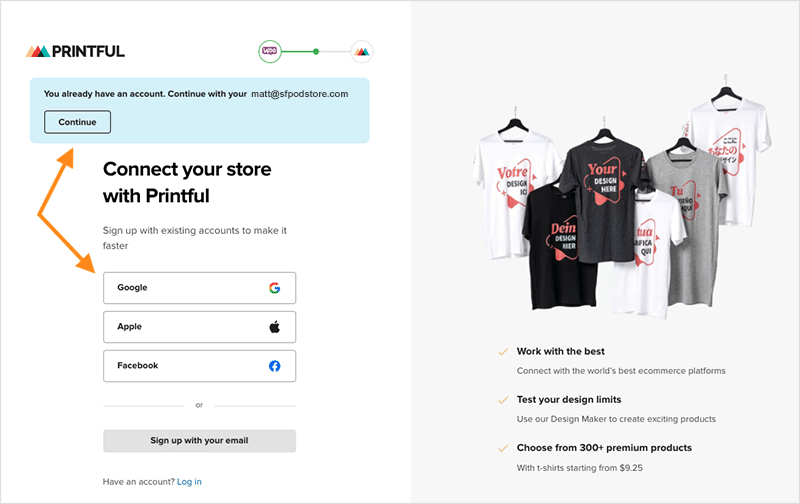
On the sign-up page, you are given several ways to register for a new Printful account. You can sign up with your:
- Facebook account
- Google account
- Apple account
- Email account
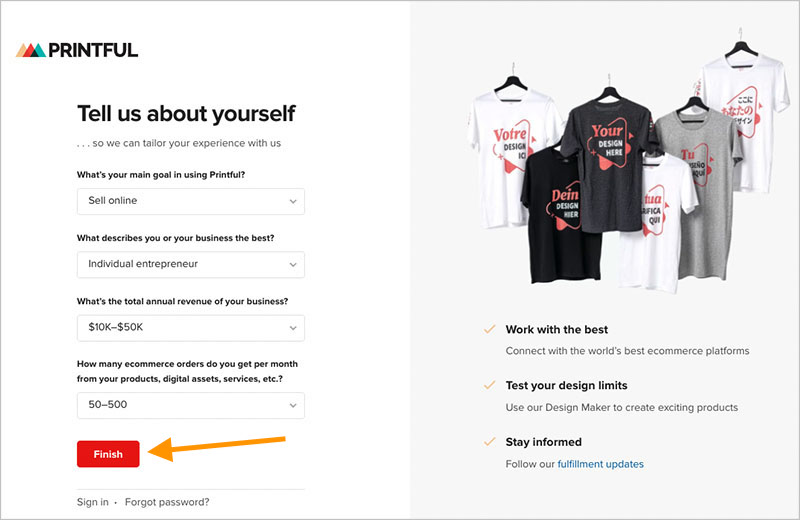
Once you’ve selected your preferred method and successfully signed up, Printful guides you through some onboarding questions about your business and objectives. Answer these questions, and when you’re done, click the ‘Finish’ button to complete the process and access your new Printful account.
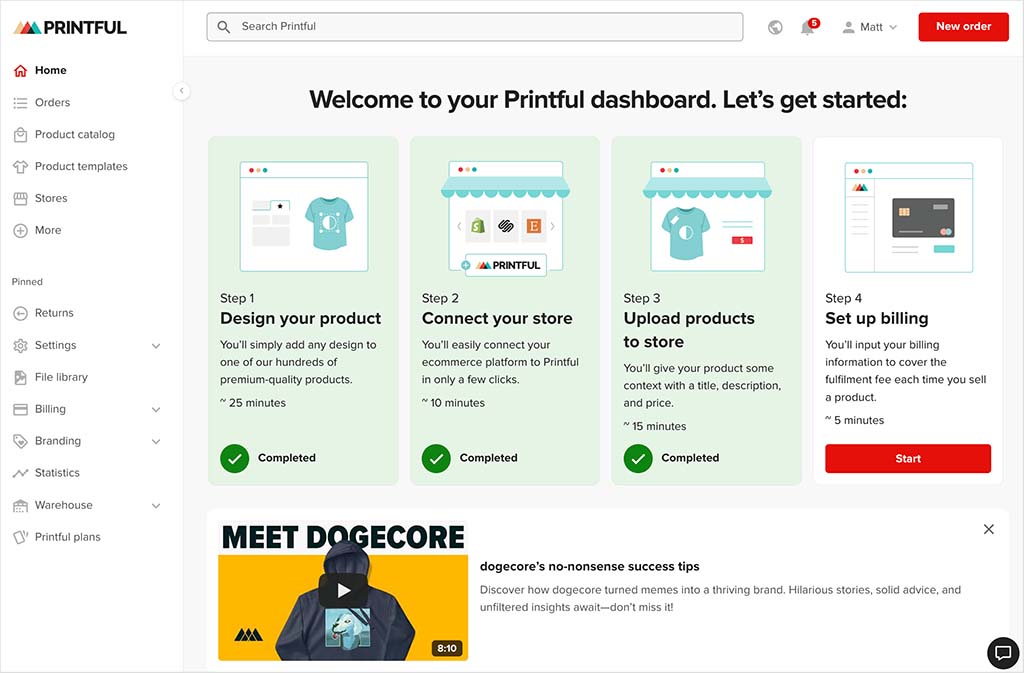
When you log in to Printful, you’ll find yourself in your account dashboard (pictured below). This dashboard serves as your central hub to manage key Printful account tasks, such as product design, order tracking, shipping management and promotion creation.
Now that you’ve got your Printful account up and running, the next step is to get set up with WooCommerce.
Let’s see how to do that next.
2. Add the WooCommerce plugin to your WordPress account
Note: the instructions below are for adding WooCommerce to a self-hosted WordPress site.
For details on how to add WooCommerce to ‘hosted’ WordPress, there is a handy video guide available here.
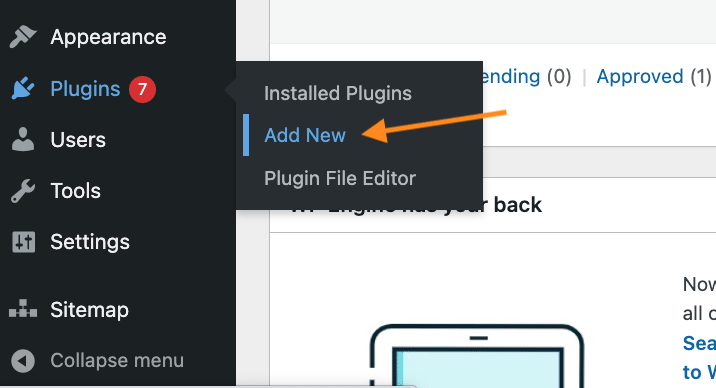
To add WooCommerce to WordPress, go to the ‘Plugins’ section of your WordPress menu and click ‘Add New’.
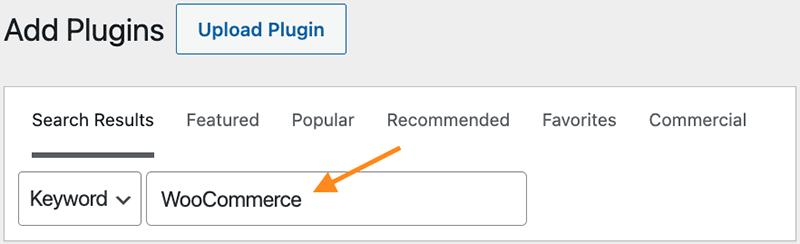
Next, enter ‘WooCommerce’ into the search box and hit return on your keyboard.
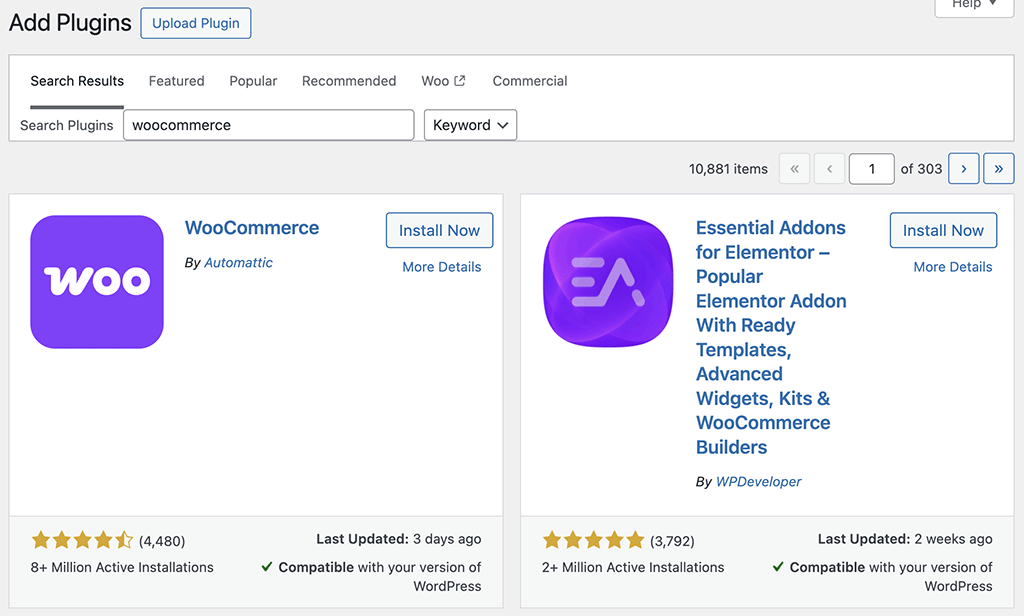
You’ll then see the WooCommerce plugin appear as the top result in your search query.
Click on the ‘Install Now’ button, followed by the ‘Activate’ button to add it to your WordPress account.
You’ll then see a WooCommerce section in the WordPress menu on the left side of your dashboard. When you click on this, the next screen that appears is the ‘WooCommerce Setup Wizard’ — this lets you configure your WordPress site to work with WooCommerce.
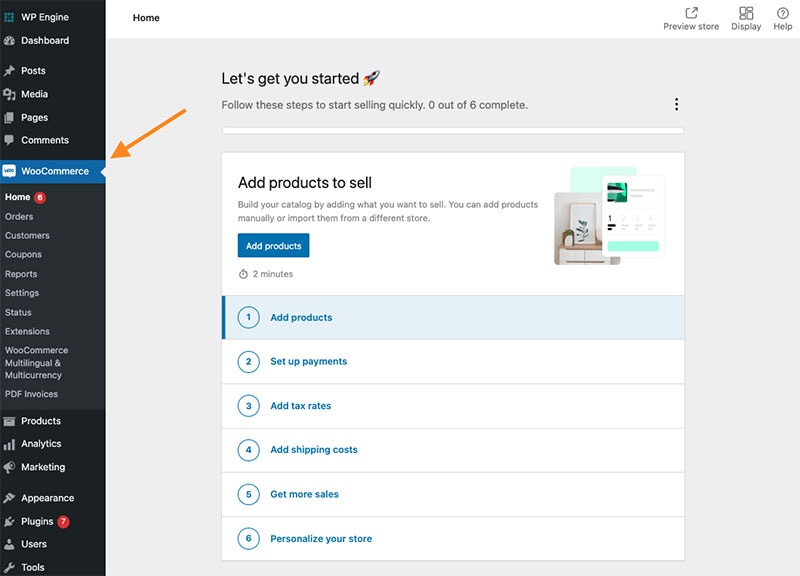
Just follow the steps provided to complete the WooCommerce setup process.
(For more details on setting up WooCommerce on WordPress, you can read this article in the WooCommerce help center here.)
Now it’s time to add the Printful plugin to your WordPress account.
3. Install the Printful plugin on your WordPress account
In order to add Printful to your WordPress account, hover your cursor over ‘Plugins’ in the side menu of your WordPress dashboard, and click ‘Add new’ in the pop up box that appears.
Then, enter ‘Printful’ into the search bar and hit return on your keyboard.
You will see the ‘Printful Integration for WooCommerce’ plugin appear at the top of the search results.
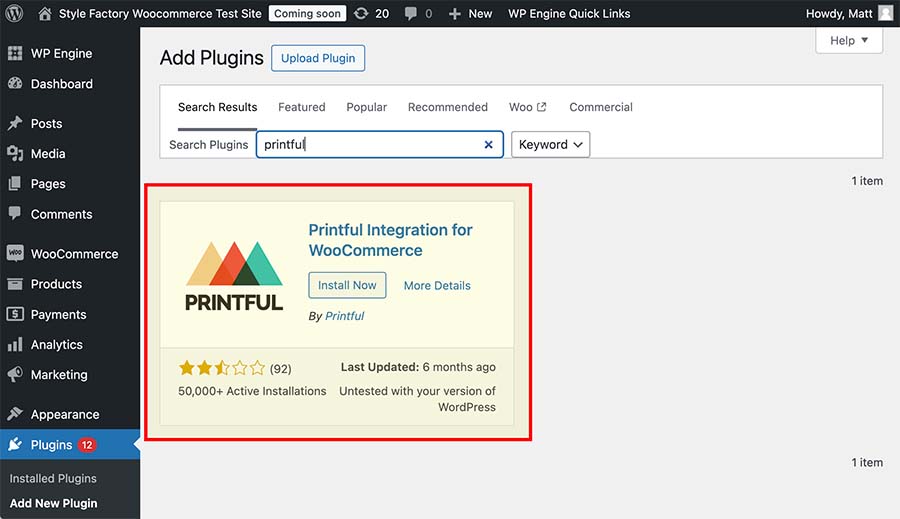
Next, click on the Printful plugin’s ‘Install Now’ button — this adds the Printful plugin’s code files to your WordPress account.
Then click on the ‘Activate’ button that appears beside the Printful app — you need to do this to turn on the Printful app in your WordPress account.
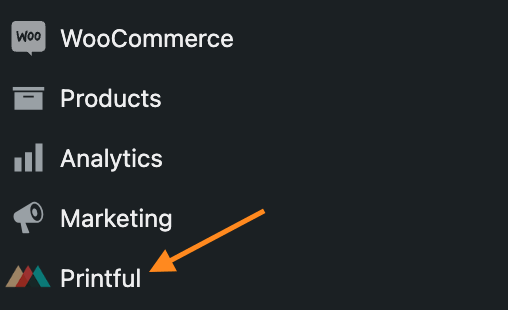
You’ll now see a Printful option in your WordPress main menu (on the left of the dashboard).
The next step is to configure a few technical WordPress / WooCommerce settings, namely your WordPress permalink and your WooCommerce API settings.
Don’t worry, this is all pretty straightforward stuff.
Here’s how you do it…
4. Configure your WordPress permalink and WooCommerce API
When you click on the Printful plugin in your WordPress account, you will see a ‘Connect to Printful’ message accompanied by 2 error messages (see screenshot below).
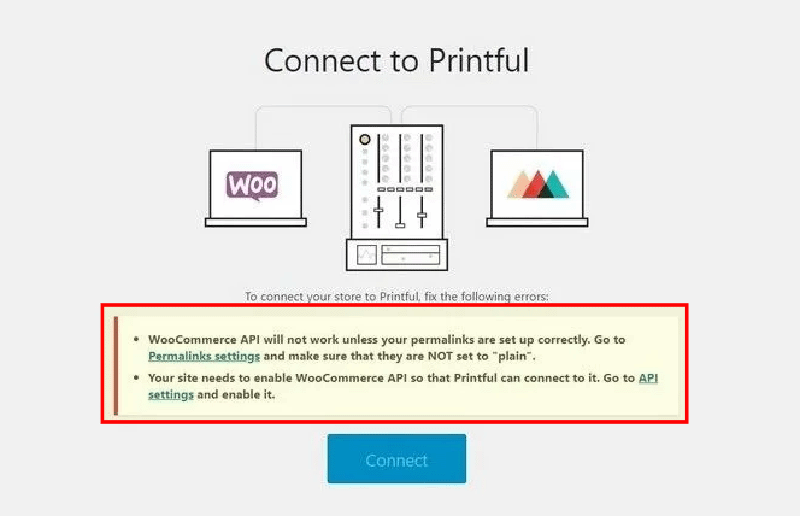
If you don’t see any error messages, you can go straight to the next step.
But if you do see these error messages, it’s important to adjust a few key settings in WordPress.
First, you’ll need to configure your WordPress permalink settings.
Configuring WordPress permalink settings
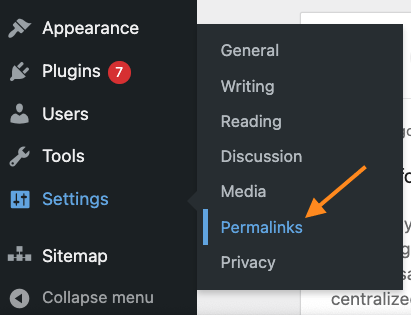
Permalink settings can be accessed via the link in the error message itself, or alternatively, you can access them via Settings > Permalinks in your WordPress menu.
On the ‘Permalink Settings’ page, scroll down to ‘Permalink structure’. This will be set to ‘Plain’ (as per the screenshot below). You’ll need to change this setting.

So, check the radio button beside one of the other options — it doesn’t really matter which one so long as it is no longer set to ‘Plain’.
In this case, I will change mine to ‘Post name.’
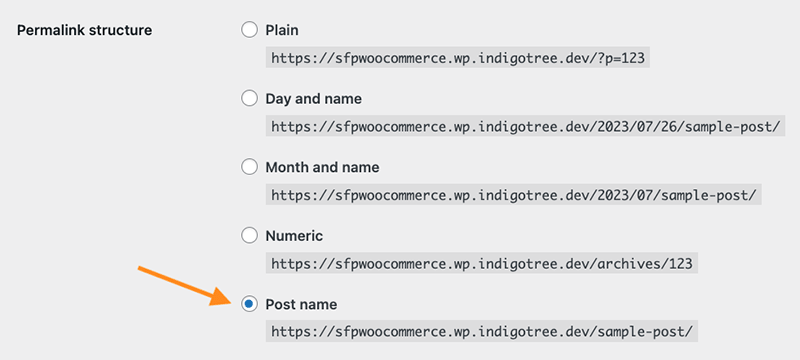
And to apply these new settings to your WordPress account, scroll down to the bottom of the page and click the ‘Save Changes’ button.
Next, let’s adjust the WooCommerce API settings.
Configure WooCommerce API settings
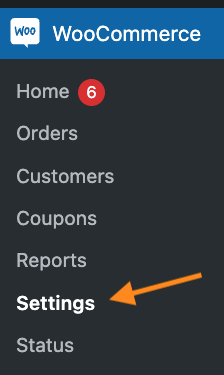
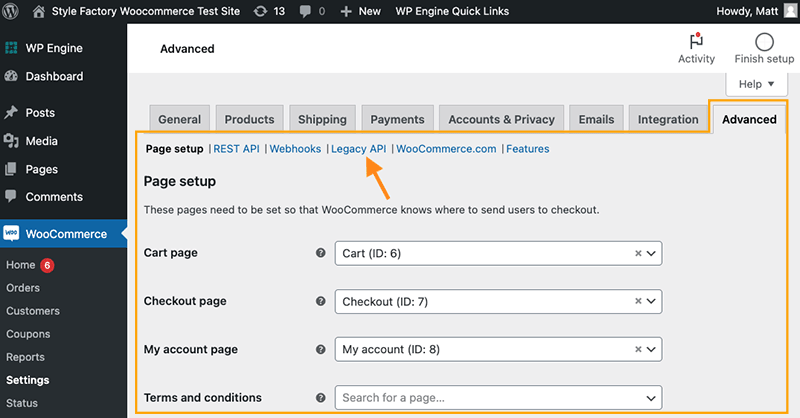
To change your WooCommerce API settings, click on the ‘API setting’ link in the error message, or alternatively, navigate to WooCommerce > Settings in the WordPress side menu.
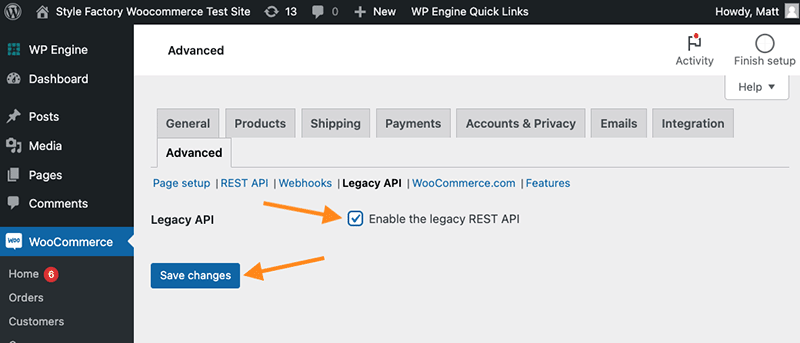
On the WooCommerce settings page, select the ‘Advanced’ tab in the top right corner of the page, and then click the ‘Legacy API’ option (see screenshot below).
In the ‘Legacy API’ settings screen, select ‘Enable the legacy REST API’, followed by ‘Save Changes.’
With these changes applied to your WordPress permalink and WooCommerce API settings, you’ll now be able to complete the process of establishing a WooCommerce-Printful connection.
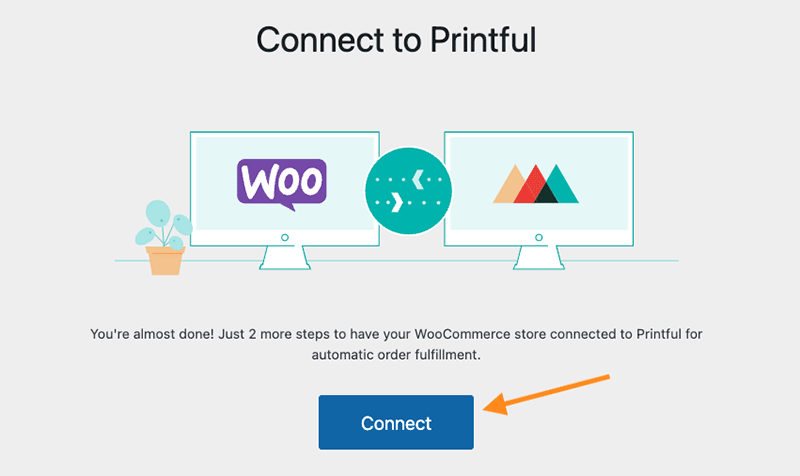
5. Connect your WooCommerce store to Printful
In the WordPress side menu, click on the Printful plugin, and then click on the ‘Connect’ button on the ‘Connect to Printful’ screen that appears.on the screen that appears.
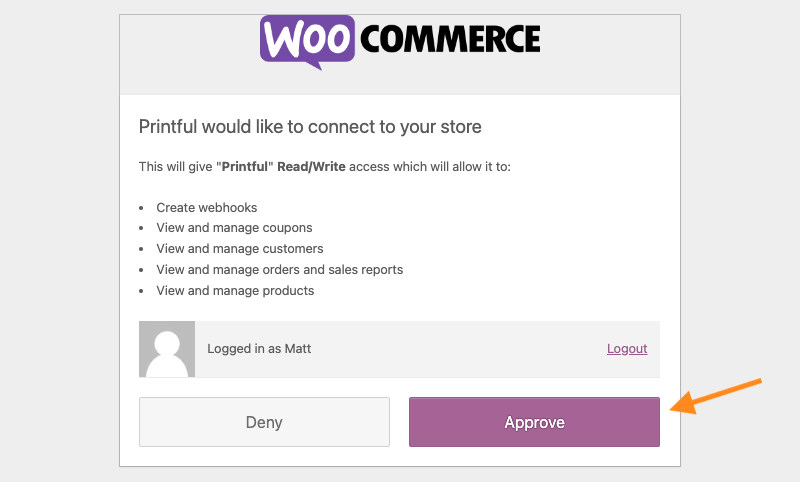
You will now be asked to approve the connection between WooCommerce and Printful. Click ‘Approve’.
You’ll then be redirected to the Printful sign in page.
If the Printful system detects that you are using the same email address in your WordPress / WooCommerce store, you can just hit ‘continue’; if it doesn’t, simply sign in with any of the 4 methods discussed previously.
Printful now asks you to confirm the connection between your WooCommerce and Printful accounts, which you do by clicking on the red confirmation button.
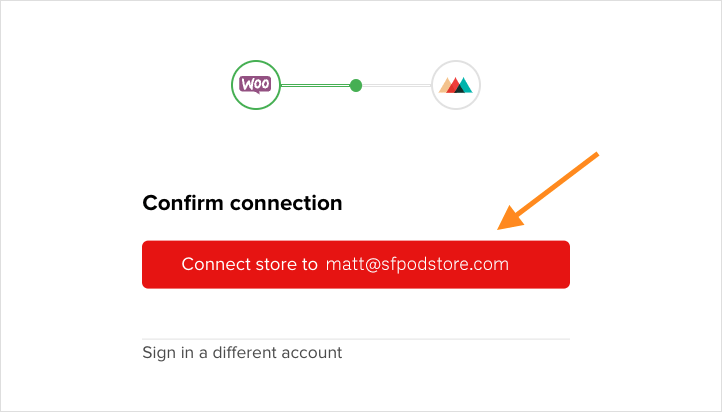
Congratulations. You have successfully connected Printful to your WordPress / WooCommerce store.
You’ll now be able to create custom products in Printful and add them easily to WooCommerce.
So how do you add Printful products to WooCommerce?
6. Add your Printful products to WooCommerce
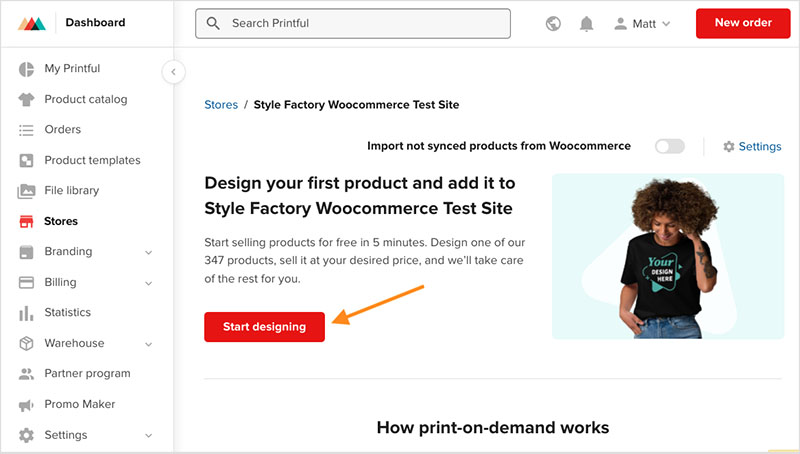
Before you can add a Printful product to WooCommerce, you’ll need to create a product in Printful first first need to create a product in Printful.
To do this, click on the ‘Start designing’ button in your Printful dashboard.
This takes you to Printful’s product catalog, which contains over 390 different printable products in several categories (these include ‘Men’s clothing,’ ‘Women’s clothing,’ ‘Hats,’ Home & living,’ ‘Eco-friendly products’ and more).
You can browse the catalog store by the search box and filters provided, and when you find a product you’d like to add a design to, click on it to start the customization process.
This takes you to Printful’s product designer interface — you use this to specify the printing technique (’embroidery,’ ‘all-over print,’ etc.), upload your artwork files, and experiment with an array of effects, including text effects and clip art.
You can add designs to the front, back and sleeves of many Printful clothing items, and you can also add your own branded labels to your products too.

When you’re happy with how your new product looks, Printful then takes you through the key steps to completing a full product listing before you add it to your WooCommerce store.
These include:
- adding mock ups to your product
- adding a product description
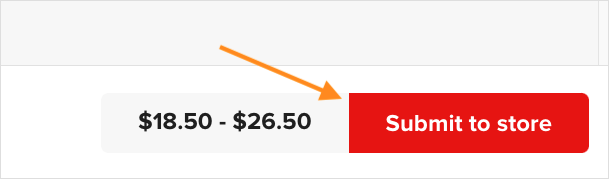
- setting prices.
When you’ve gone though these steps, you’ll see a ‘Submit to store’ button at the bottom of the pricing page in the product designer. Click on this button to instantly add your product — including images, product description and pricing — to your WooCommerce storefront.
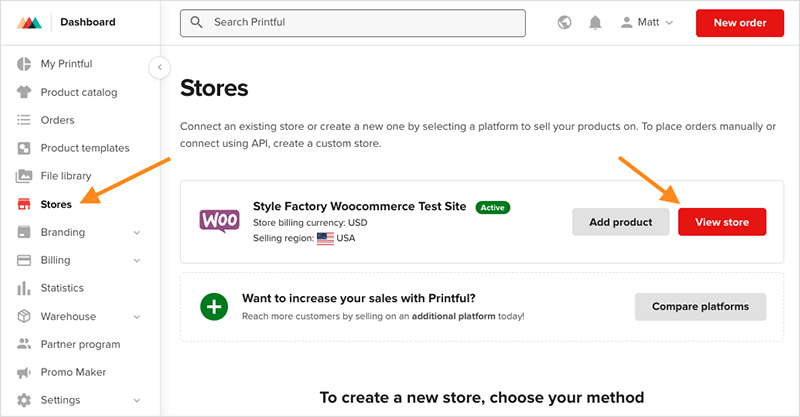
To check that your product has been correctly added, click on the ‘Stores’ menu item in your Printful dashboard, and then click on ‘View store’ next to your WooCommerce store details.
You’ll now see your newly created product in your Printful product list.
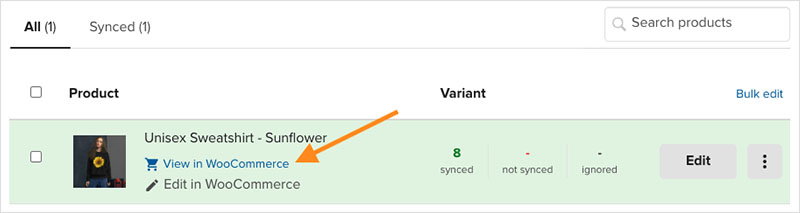
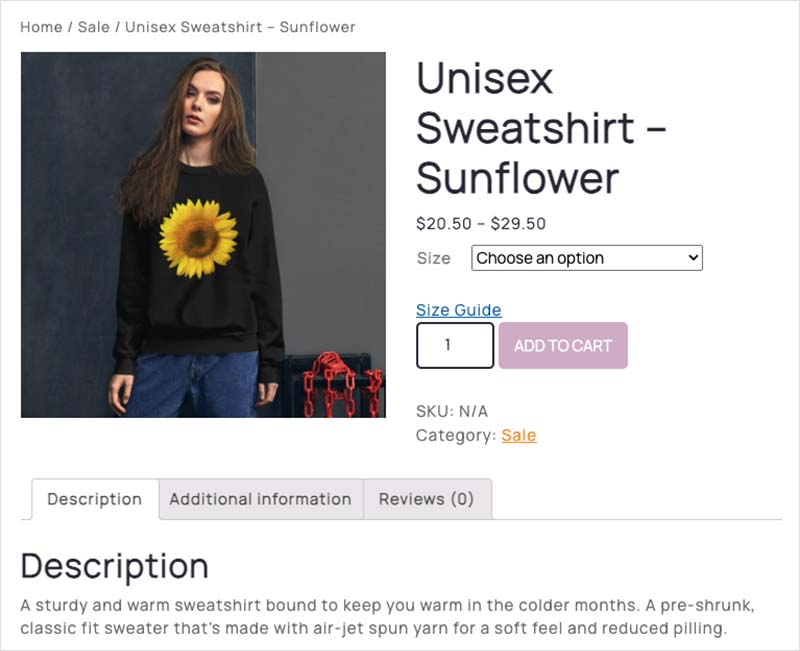
As you can see from the screenshot above, this gives you the option to view your product in WooCommerce. Clicking this link takes you directly to the live listing of your product on your WooCommerce store.
If you want to change any details of your listing, you can just return to the product information in Printful from where you have two options — either edit your product details further in the Printful backend or over in your WooCommerce store’s dashboard (in your WordPress account).
You have now successfully added your first Printful product to your WooCommerce store.
7. Promote your Printful / WooCommerce store
Now that you’ve successfully added Printful to WooCommerce, there’s lots more you can do to develop your print on demand business.
Here are a few tips on how to build out and promote your new POD store:
- Create more Printful products and add them to your WooCommerce store. Printful gives POD merchants a large catalog of customizable products to work with, so be sure to create a large number of high-quality products for your customers to choose from. The Printful blog post ‘How to Choose Print-on-Demand Products for Your Store‘ has lots of suggestions on how to grow your store’s POD catalog product offering.
- Perform search engine optimization (SEO) on your WordPress / WooCommerce store. WordPress gives you a huge amount of control over your site’s SEO technical settings. Check out our ‘How to Make Your Site More Visible on Google‘ article for some key SEO tips.
- Add rich snippets to your products: Rich snippets enhance your search results by (1) displaying contextual information such as ratings, pricing and FAQs in SERPs and (2) letting search engines get a more detailed idea of what your page or product is about. It’s easy to add rich snippets to your products in WordPress / WooCommerce and there’s a huge range of plugins available in the WordPress plugin library that allow you to add the relevant markup to your products with a minimum of fuss.
- Engage in content marketing. Use WordPress’ excellent blogging features to drive sales of your Printful products. By regularly posting engaging blog articles that focus on topics in your product niche, you can significantly improve your search rankings and increase organic traffic to your store. Read our 10-step guide on how to increase blog traffic to learn how to get going with content marketing for your WordPress / WooCommerce store and its products.
- Use email marketing. Although WordPress doesn’t come with a built-in email marketing tool, you can easily connect it to professional email marketing platforms like GetResponse and AWeber. You can use these tools to promote your Printful products, announce new designs and offer discounts and special offers to your subscribers. To learn more about gaining email subscribers, check out the Style Factory guide on how to grow an email list.
Other Printful and WooCommerce resources from Style Factory
Printful resources
- What is Printful?
- Printful review
- Printful vs Printify
- Printful Pricing
- SPOD vs Printful
- Printful vs Teespring
- Printful vs Redbubble
- How to connect Printful to Shopify
- How to connect Printful to Squarespace
- How to connect Printful to Wix
- How to connect Printful to WordPress
- How to connect Printful to Etsy
WooCommerce resources
Update details
This article was updated on 9 May 2025. The following key edits were made:
- New imagery of the Printful home page, signup page and dashboard was added.
- A new screenshot of the WooCommerce plugin was added.
- Information on the size of Printful’s product catalog was updated.
No comments