In this post I’m going to show you how to create an email signature in Canva — in just a few simple steps.
1. Search for an email signature template
The first thing you need to do when creating an email signature in Canva is search for a template that you can use as a starting point.
To do this, log into Canva (or start a free trial of it) and type ‘email signature’ into the ‘What will you design today?’ search bar (you’ll see this as soon as you log in).

This will return a large number of email signature templates.
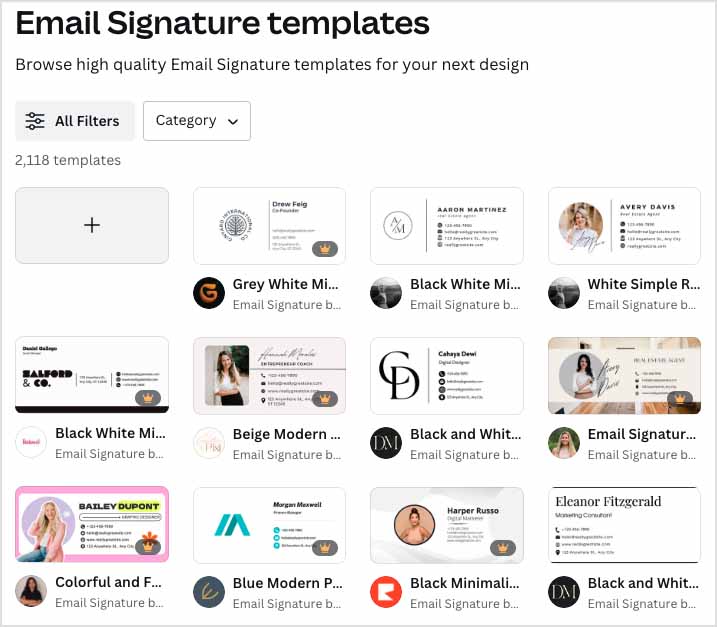
If you like, you can refine these search results by using an additional keyword in your search — ‘Corporate email signatures,’ ‘Artistic email signatures’ etc.
Either way, it’s case of scrolling through results and clicking on the template you want to use a starting point for your email signature.
2. Customize your email signature
When you click on an email signature template, you’ll see a box containing an enlarged version of it.
This contains some details about the signature you’ve chosen, along options to save it to favorites, share it with others or view similar ones.
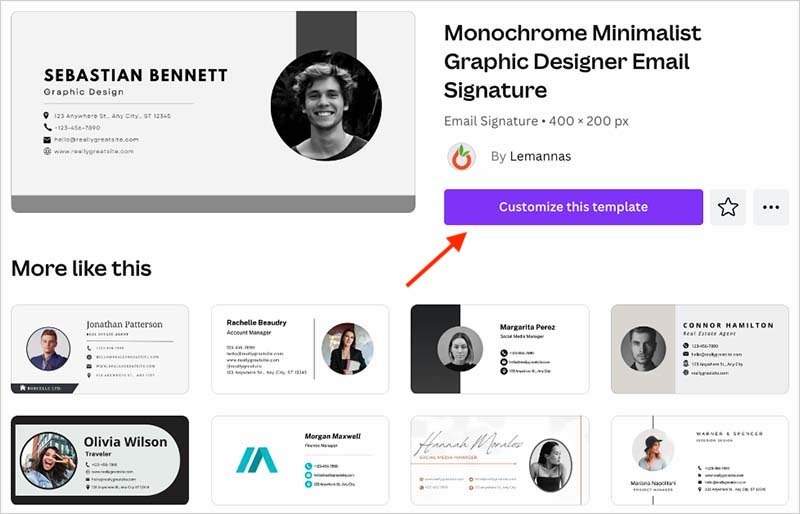
To start customizing the signature, click the ‘Customize this template’ button.
When you’ve done that, you’ll be taken to the Canva editor, where you can start to make the design your own.
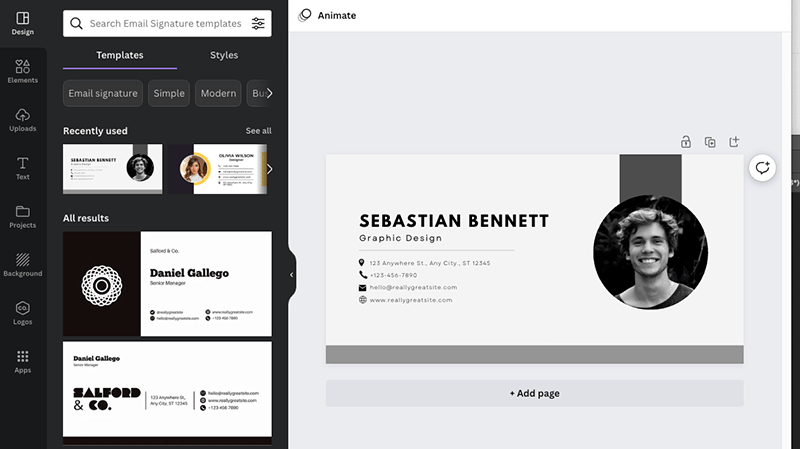
Once there, you can use the controls and stock media provided to configure the email signature to your liking.
There are two tabs that are of particular importance when creating email signatures in Canva:
- Elements — stock images
- Uploads — any graphics you’ve already added to Canva (photos, brand assets etc.)
It’s basically a case of using the controls and imagery provided in each tab to customize your template so that it meets your requirements.
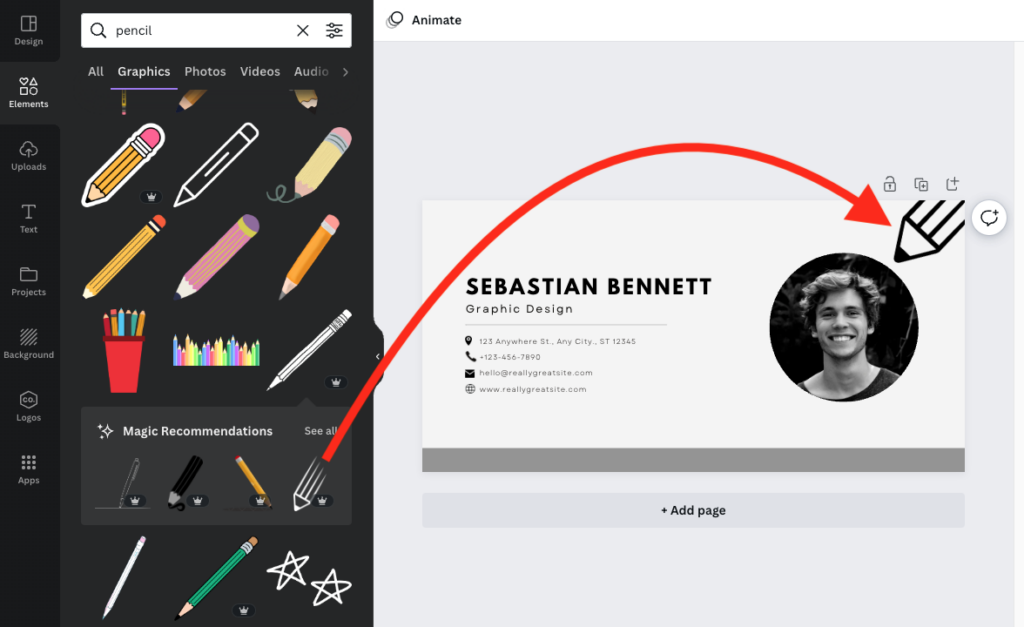
You can use the ‘Elements’ tab to search for graphics for your email signature:
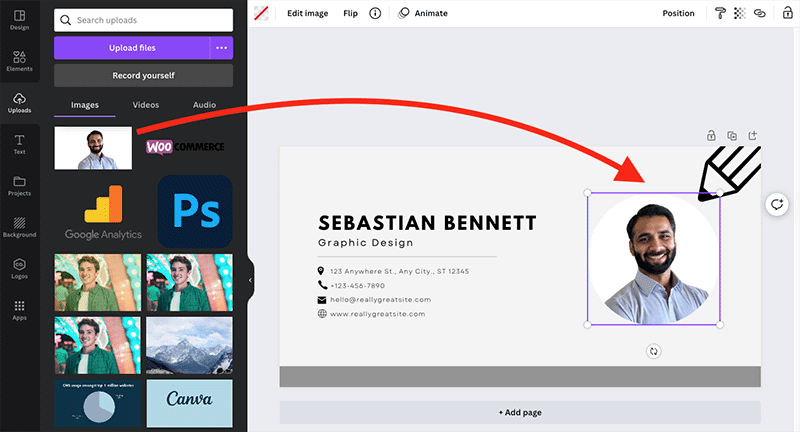
And you can use the ‘Uploads’ tab to add your own images or your own logo to it. (Usually the image you’ll need to add is your headshot).
Tip: if you’re on a Canva Pro plan, you may have uploaded your brand logo to the ‘logos’ section, and will be able to access it there. If you’re on a free plan, you can add it to or retrieve it from the ‘Uploads’ section.
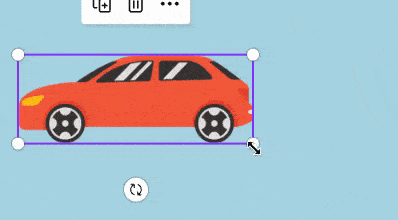
You can adjust the size of any graphics or images you add to your signature by clicking on them and then dragging the sides of their ‘container boxes’ (see screenshot below) until you’re happy with the new size.
3. Add and format text
Once you’re happy with the graphics and images on your email signature, it’s time to sort out the text.
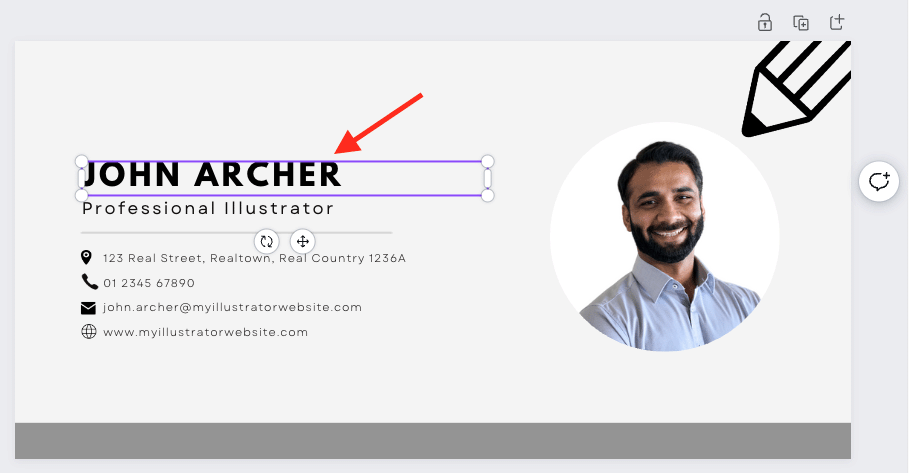
The first step is simply to change the sample text on the email signature template so that it contains your details.
Then, if you like, you can change the typefaces on your signature. To do this, highlight the text you’d like to change, then click on the font dropdown menu at the top of the Canva interface.
It’s then a simple case of picking the typeface(s) you’d like to use on your signature.
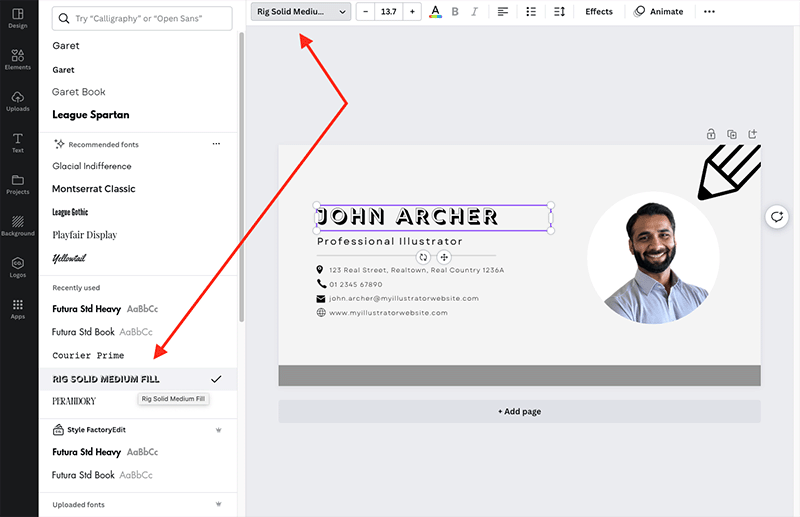
If you need to, you can also use the font size controls to change text size.
How do you add clickable social media icons to a Canva email signature?
Many people like to add clickable social media icons to their email signatures. To do this with Canva,
- Create and export social media icons separately in Canva (a size of 50 x 50 pixels usually works well for this).
- Go to the settings section of your email app and open your email signature.
- Add each icon underneath your signature.
- Highlight each one, and add the relevant social media links.
Note: more information about how to access the email signature settings of popular email apps is provided at the bottom of this post.
4. Adjust colors
The next thing to do is to edit your design so that it contains your brand colors.
Click on the element that you’d like to display in a different color, and then click the colors control (located at the top of the Canva interface).
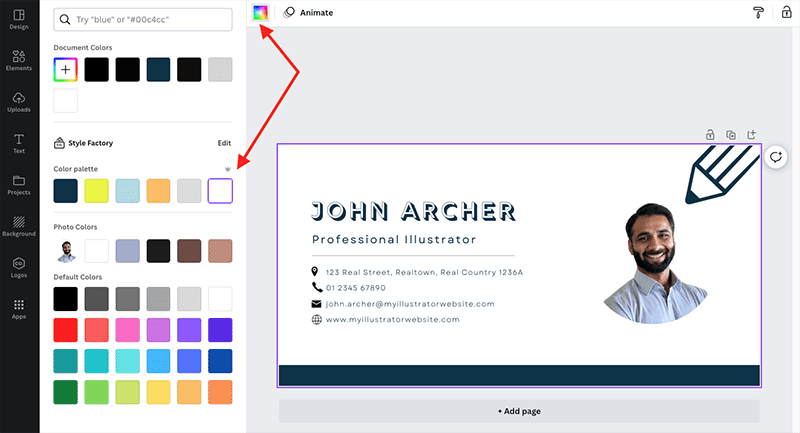
If you’re on a Canva Pro plan and are using its ‘brand kits’ feature, you’ll get the option to apply your brand colors to your chosen element; if not, just use the regular color palette.
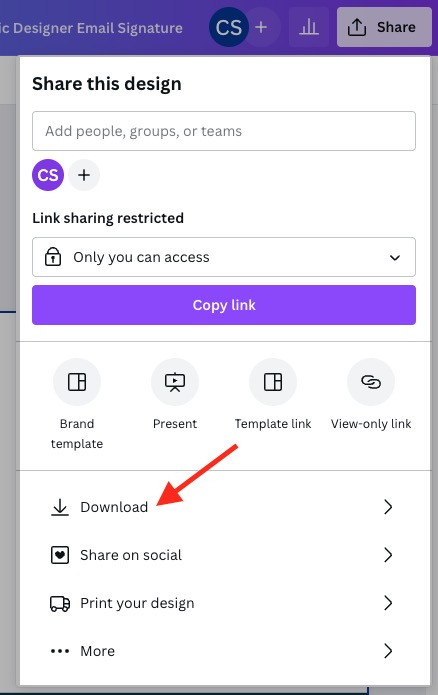
5. Export your signature
Once you’re happy with your email signature’s content, layout and colors, it’s time to export it.
To do this, just go to the ‘Share’ section of the Canva interface (located at the top-right hand corner of the interface) and click the ‘Download’ option.
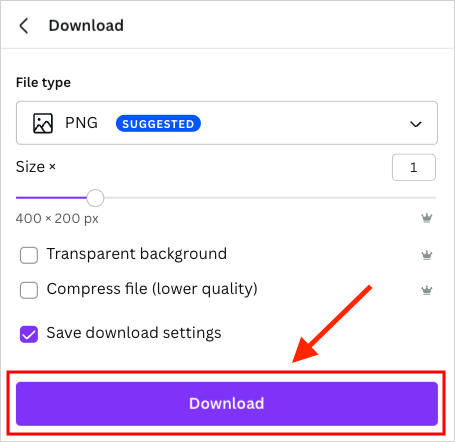
You can then pick a file format and dimensions for your signature. The Canva default — a PNG file that’s 400 x 200px in size — should be fine for most cases.
When you’re ready, click the ‘Download’ button to save your email signature to your computer.
6. Check your exported email signature
Before you start using your email signature in your chosen email app, it’s really important to check that it looks okay.
To do this, open it on your desktop computer (using a picture editing app like Microsoft Photos or Preview), and sense check it.
Pay particular attention to font sizes — make sure that they are large enough. As you can see in the example below, contact details can sometimes end up looking a bit small in your exported signatures — you might need to go back and increase their size.

One thing that you might consider doing, in fact, is using Canva to create a signature ‘heading’ that just contains your name, business name, job title and headshot — and using plain text for the key contact details (phone number, email, website URL etc.).
This involves inserting your signature image into your email app’s signature settings and typing out the details manually below it (more on how to upload your signature to your email client in just a moment).
7. Upload your email signature to your email account
Once you’re 100% happy with your signature, the next step is to upload it to your email app — Gmail, Outlook, Apple Mail, etc.
Usually this simply involves going to your settings and uploading the email signature file you exported in step 5.
You’ll find some instructions for doing this with some popular email clients below:
And that’s it! You’ve just created a custom email signature with Canva.
Related Canva resources
- What is Canva?
- How to make a logo with Canva
- How to make a YouTube Thumbnail with Canva
- How to make business cards in Canva
- Canva Review
- Canva vs Adobe Express
- Canva vs Photoshop
- Canva vs Visme
- Canva vs VistaCreate (formerly Crello)
- Canva for Nonprofits — All You Need to Know
- Canva for Education — All You Need to Know
No comments