In this simple Squarespace blogging tutorial, I’m going to show you how to blog with the latest version of the platform.
I’ll start by walking you through the steps needed to start your blog, and then I’ll give you some bonus resources on how to make sure that what you’re blogging about actually generates traffic.
If you haven’t got a Squarespace site yet, don’t worry — you can set one up quickly and easily via its free trial.
Alright, let’s dive in.
Creating your new Squarespace blog
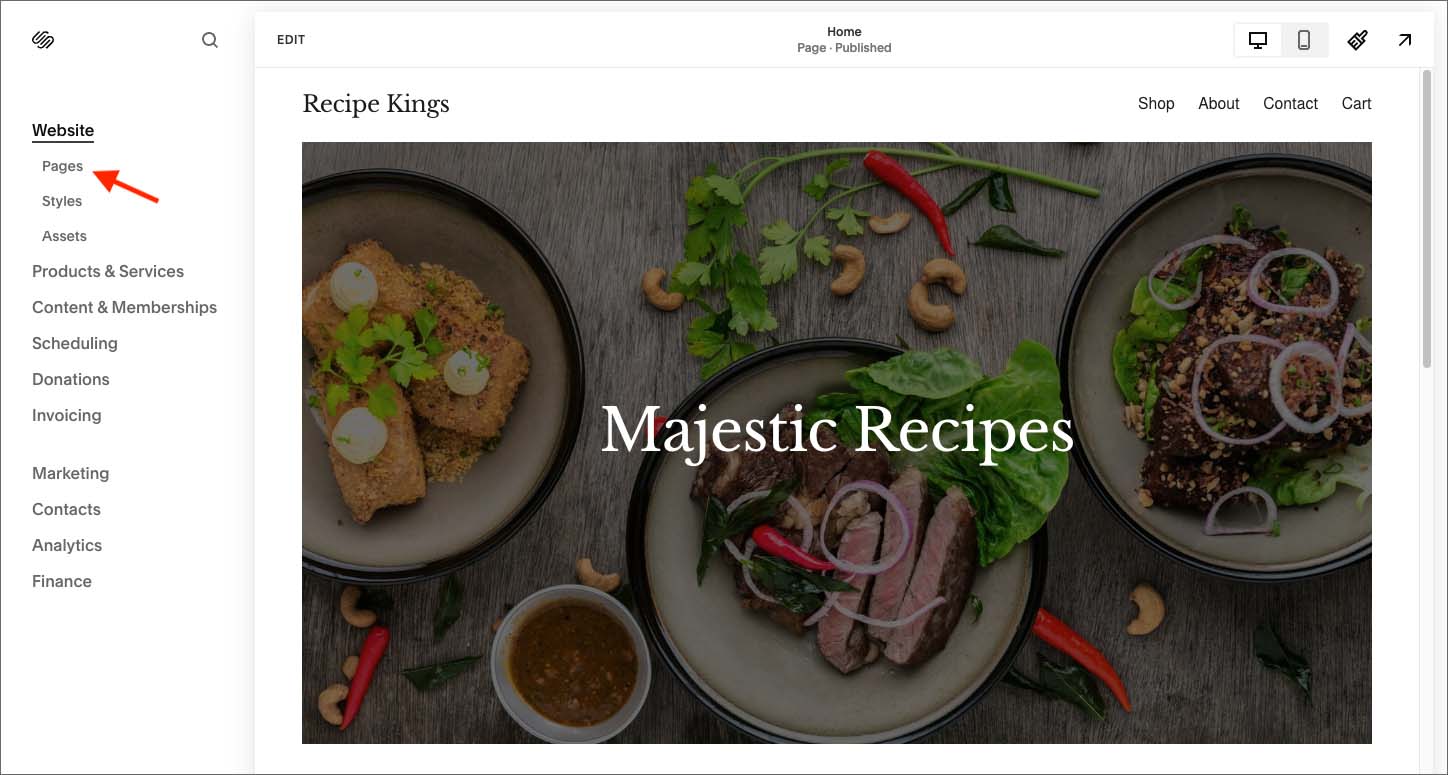
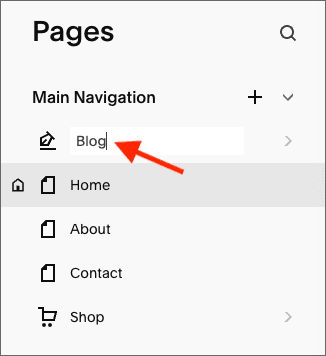
To get started with blogging on your Squarespace website, you need to go to your dashboard, and click Website > Pages.
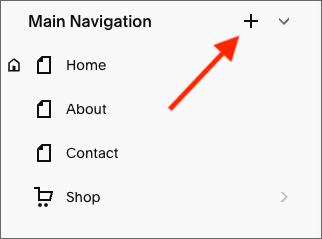
You can then create a new blog by clicking the plus icon.
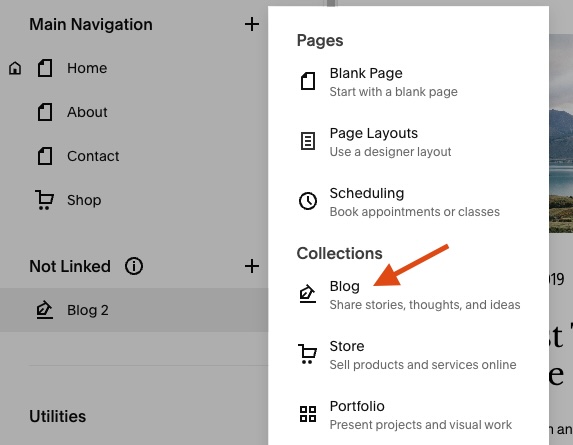
You’ll then see a list of content types that you can create. Choose ‘Blog’ from the collections section.
At this point, you’ll see a few different ‘blog page layouts‘ that you can choose from.
Now, you should note that a blog page layout is what your visitors see when they visit the blog section of your site. Your choice here doesn’t affect the individual posts themselves.

In terms of which layout works best, it boils down to whether you want to encourage people to read your latest content, or give them the opportunity to dip into a variety of different posts.
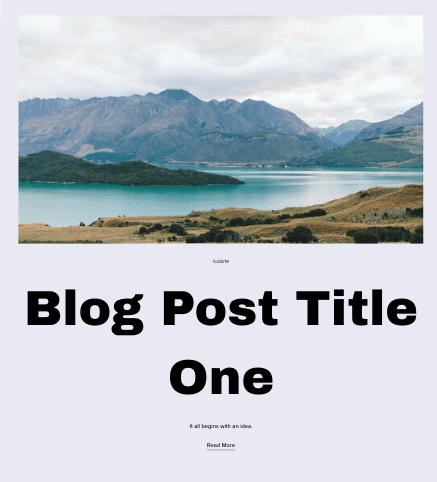
If you want to encourage people to read your very latest post, then picking a layout featuring a big image and a large title / excerpt works best (see screenshot below for an example). This will ensure that your latest post is front and centre of your blog.
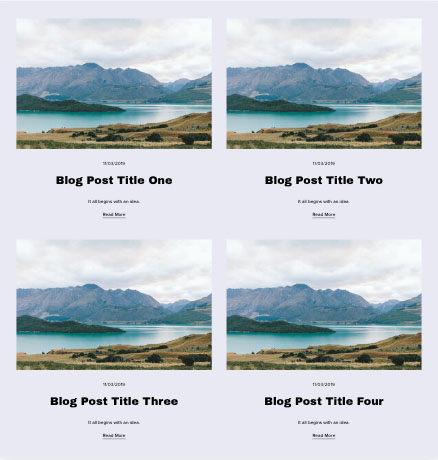
For a more ‘pick and mix’ approach that lets users see a variety of your posts in one go, choose a ‘multi-post’ layout that involves a lot of thumbnails and short excerpts.
Once you’ve picked your layout, you’ll be prompted to name your blog. In most cases, you’ll probably just want to call it ‘blog,’ but you can be more adventurous here if you like.
When you’ve named your blog, you’ll be taken straight to it.
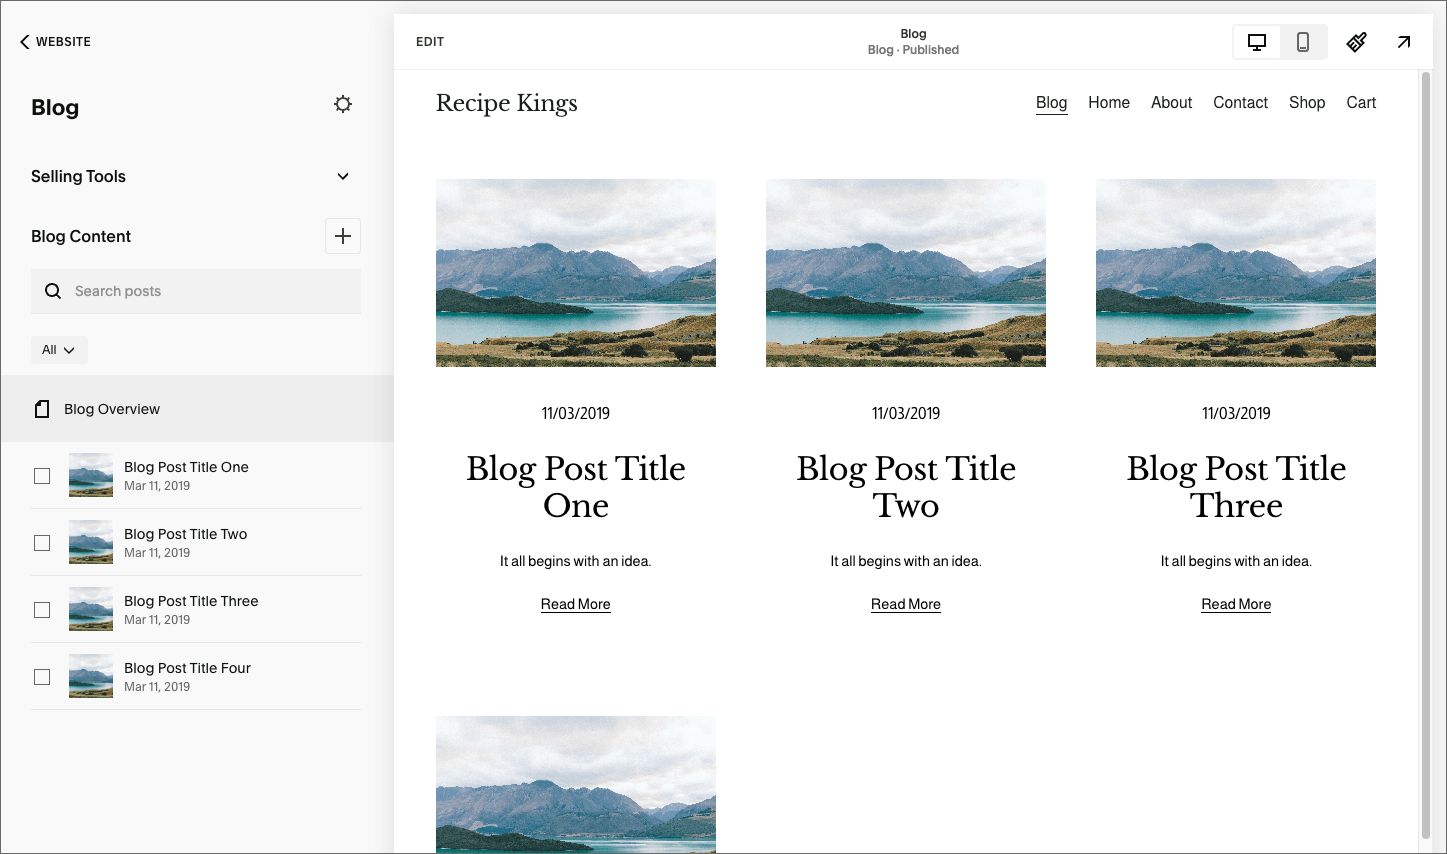
In your blog settings, you’ll see that there’s a cog icon and a plus icon.
The cog icon lets you access your blog’s settings.
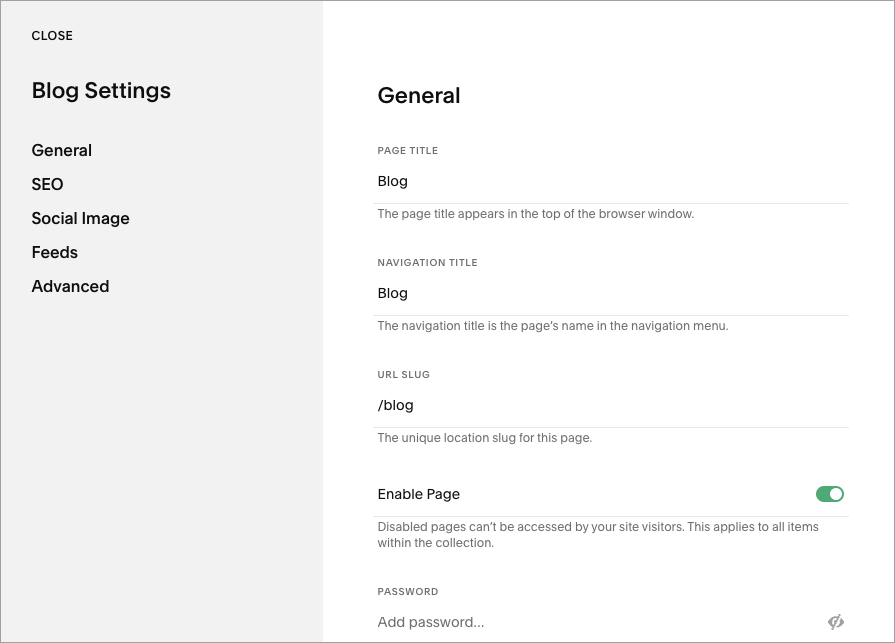
And the plus icon lets you add new posts to your blog.
When it comes to your blog’s settings, most of these are fairly self-explanatory, but there are several advanced features here too, including some options for using your blog feeds to power podcasting and send content to Apple News. I’m not going to dwell on these features here, but you’ll find some more details about these on the Squarespace help pages.
Now, let’s move on to adding content to your blog.
Adding content
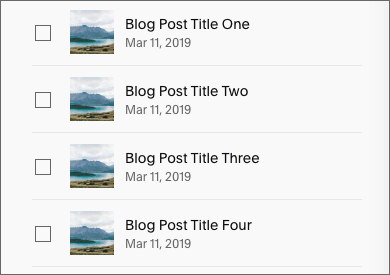
Your new Squarespace blog comes with a few dummy or ‘sample’ posts included. I generally just delete these and create brand new posts, but you can, if you like, edit them and use them as the basis of new posts.
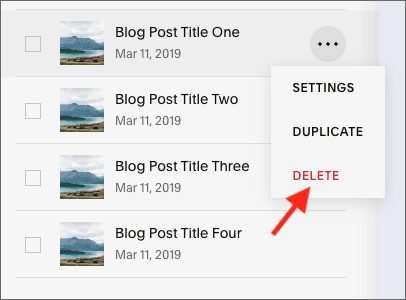
To delete a dummy post, you just hover over its title, click the three dots that appear and then click ‘delete.’
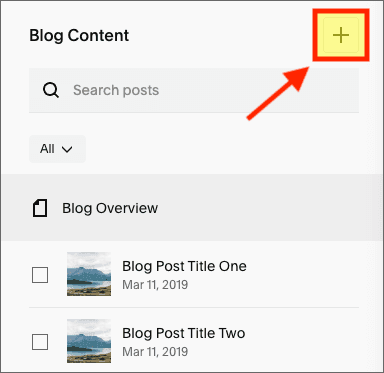
To start a new blog post, you simply click the plus icon. This immediately creates a new post for you.
After that, it’s a case of populating your blog post.
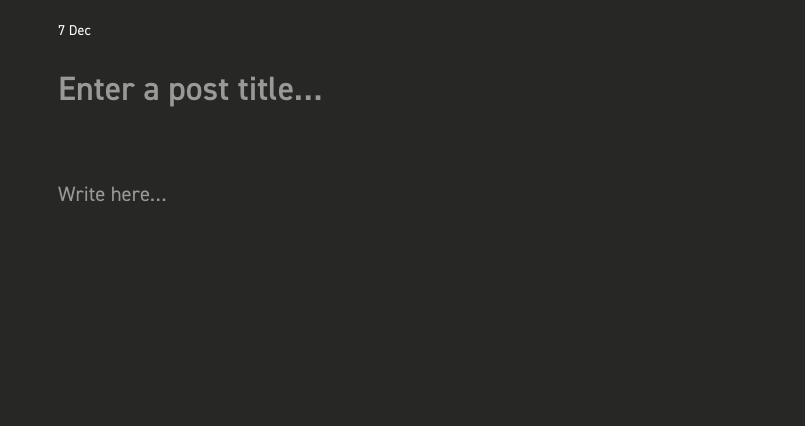
The first thing you’ll need to do is enter a post title…

…followed by your main content.
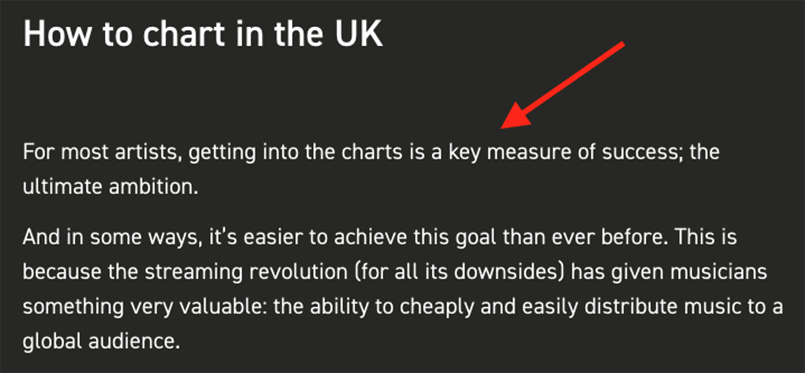
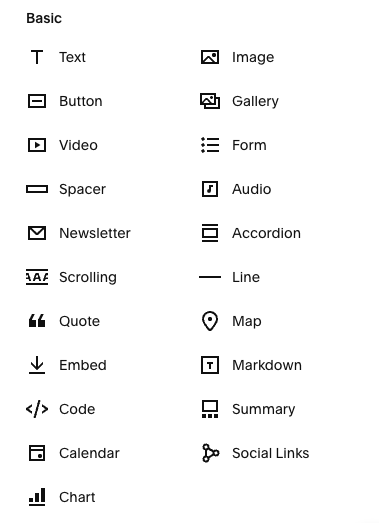
To add things like images, videos or quotes, you need to hover over some text until a ‘plus’ icon appears underneath it.
You’ll then be able to add a new ‘content block‘ — an image, video, quote etc.
You’ll then be able to drag this new block around your post, and drop it where you feel it works best.

When you’ve finished creating your content, it might be tempting to click the ‘Done’ button. However, it’s usually a better idea to tweak a few key post settings first.
Let’s take a look at how to do that now.
Configuring your blog settings
To configure your post settings, you click the post title at the very top of the page.
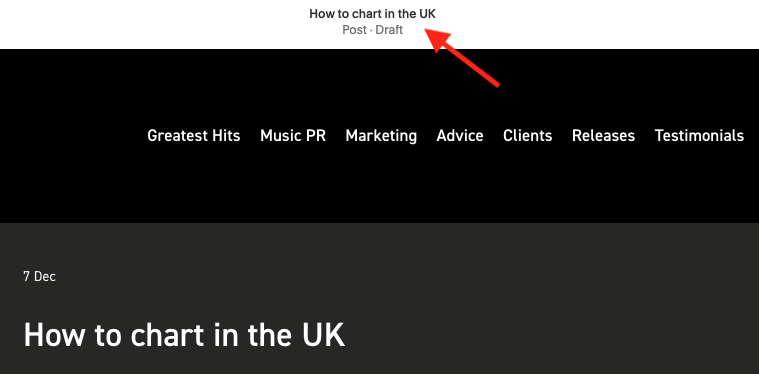
This brings up a ‘blog post settings’ box. There are quite a lot of things you can specify or change here.
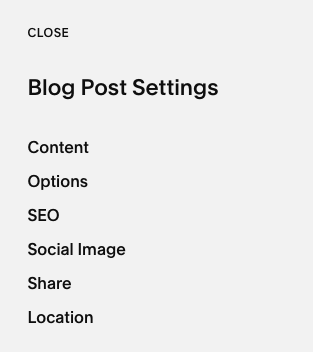
First up we have some ‘content’ options.
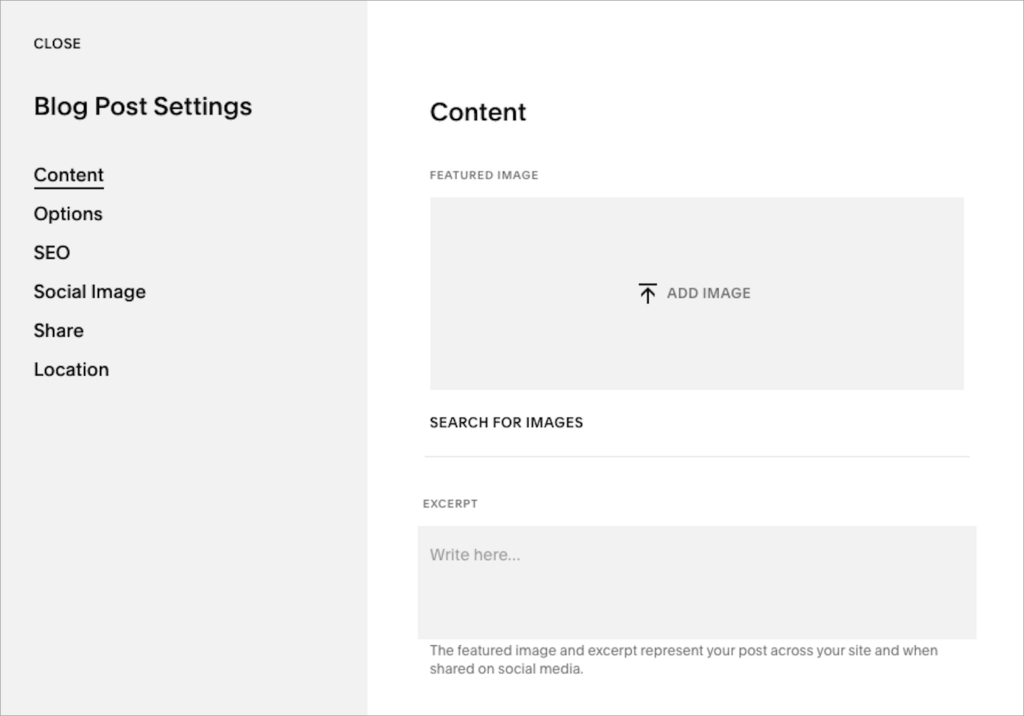
The first thing you can do here is add a featured image for the post. This will show up on your site anywhere your post is featured — for example on your main blog page or in post summaries. It will also appear any time that the post is shared on social media.
You can also add a blog excerpt here. Again, this will be shown elsewhere on your Squarespace site, in blog summaries and so on, and when your post is shared on social media.
Moving down we come to the post URL. Use this field to create a URL that reflects the content of the post and the keywords you are targeting for search results. Separate your keywords with hyphens, and keep the URL short and descriptive (this is best practice, as recommended by Google).
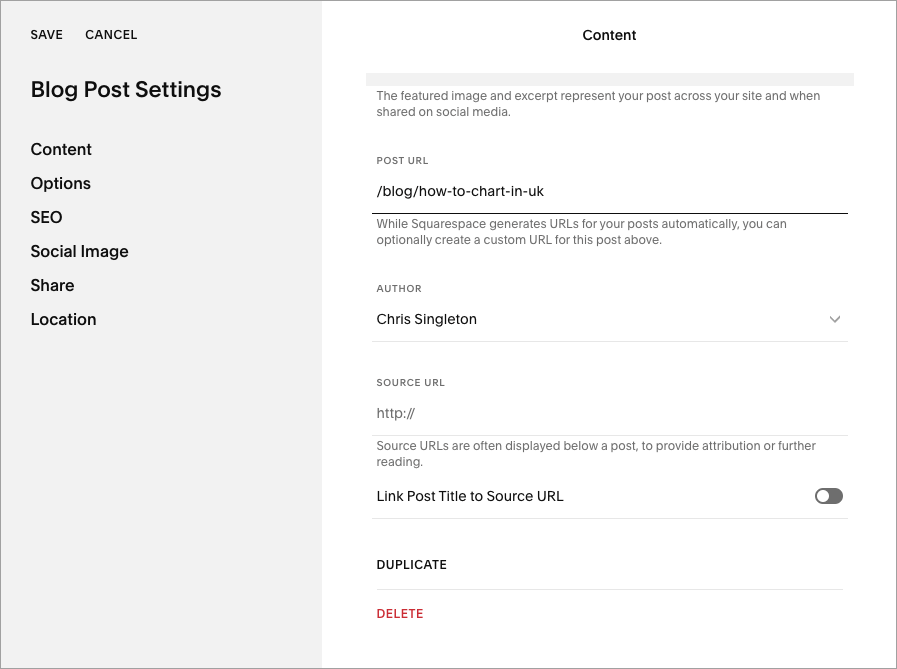
Next, you can specify a post author — by default this will be the site owner, but if you’ve added additional contributors to your Squarespace site, you can select one of these here.
If you want to reference or link to an external source on your blog you can do this here too, via the ‘Source URL’ field — I’m not going to go into detail on this option here, but if you want o know more you can learn about this feature on the Squarespace help site.
Moving down to the options section, the key thing you can do here is change the status of your post from draft to published. I’m going to leave this post as a draft for now.
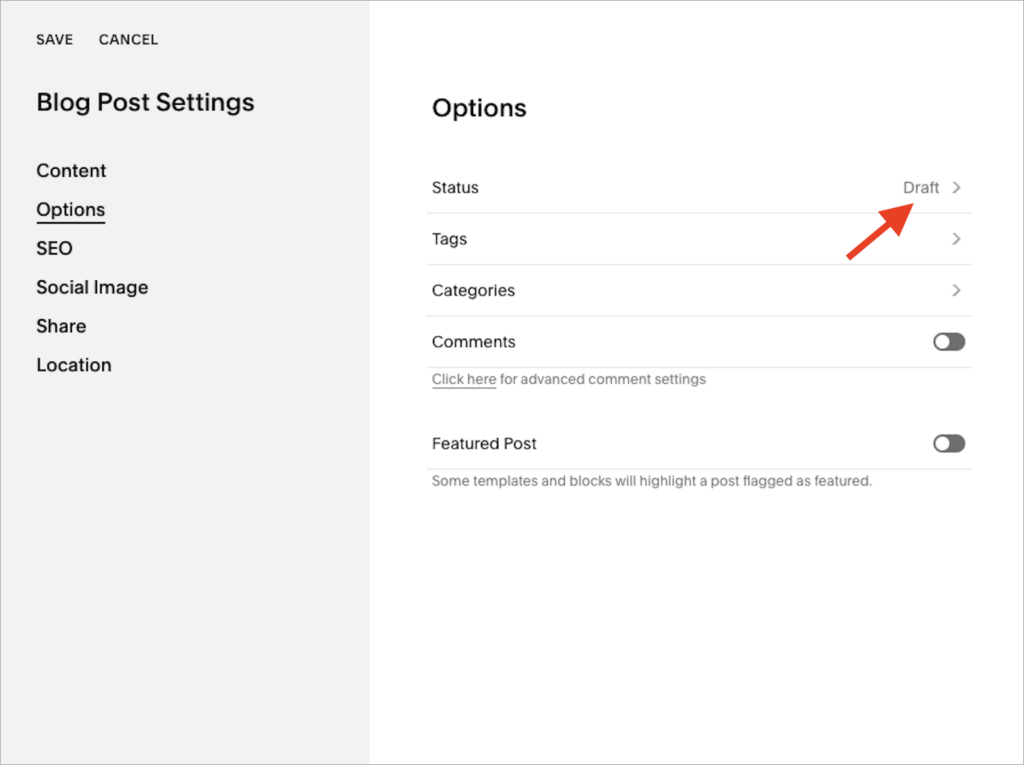
You can also use this section to add tags and categories to your post; and decide whether or not you’d like people to be able to add comments to it.
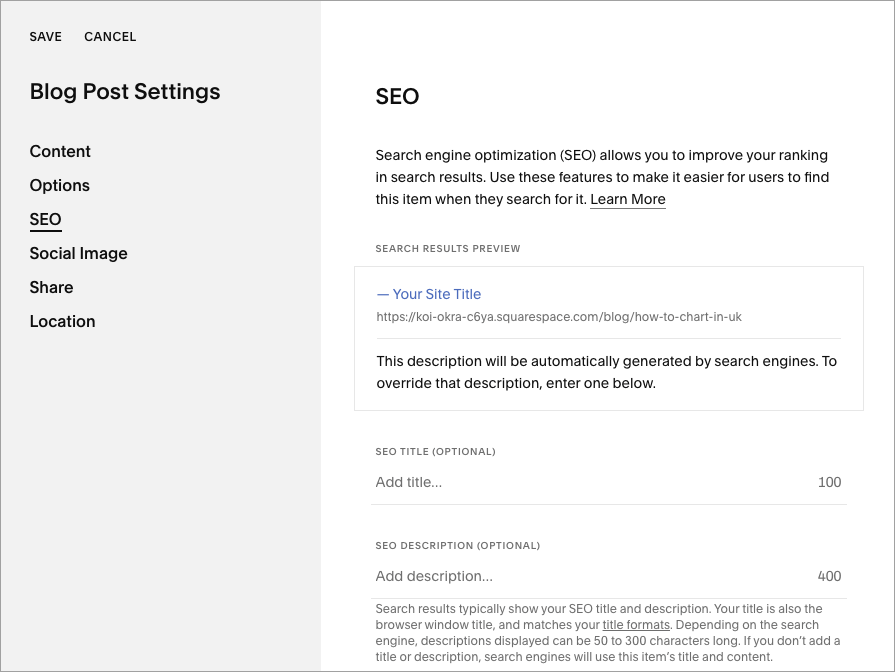
In the SEO section, you’ll be able to add a post title and meta description for display in search results.
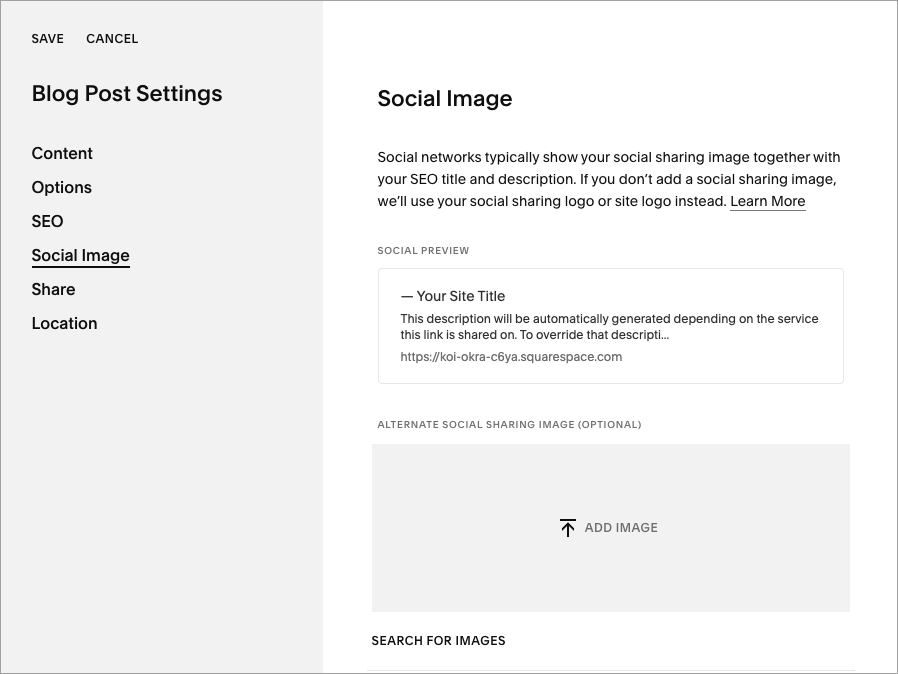
The social image section lets you add a special image that will be displayed when the post is shared on social media. This is optional, and if you don’t add anything here, your featured image will be shown instead.
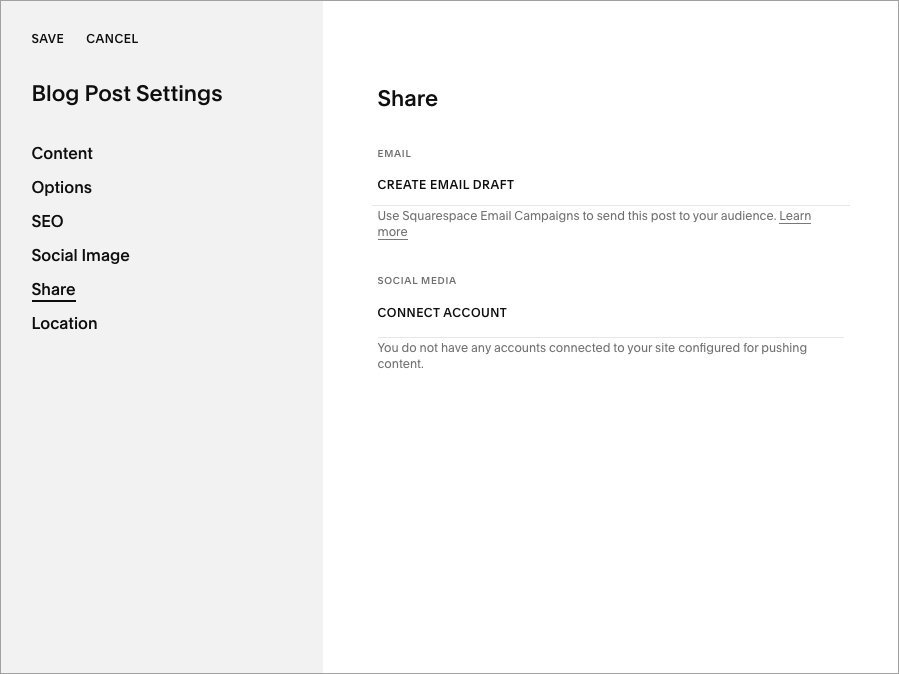
The share section lets you email your post to a mailing list or push it to social media.
Finally, there’s also a location setting, which will let you associate a particular geographical location with a post. Squarespace will show this data beside your blog post title when it appears elsewhere on your Squarespace site.
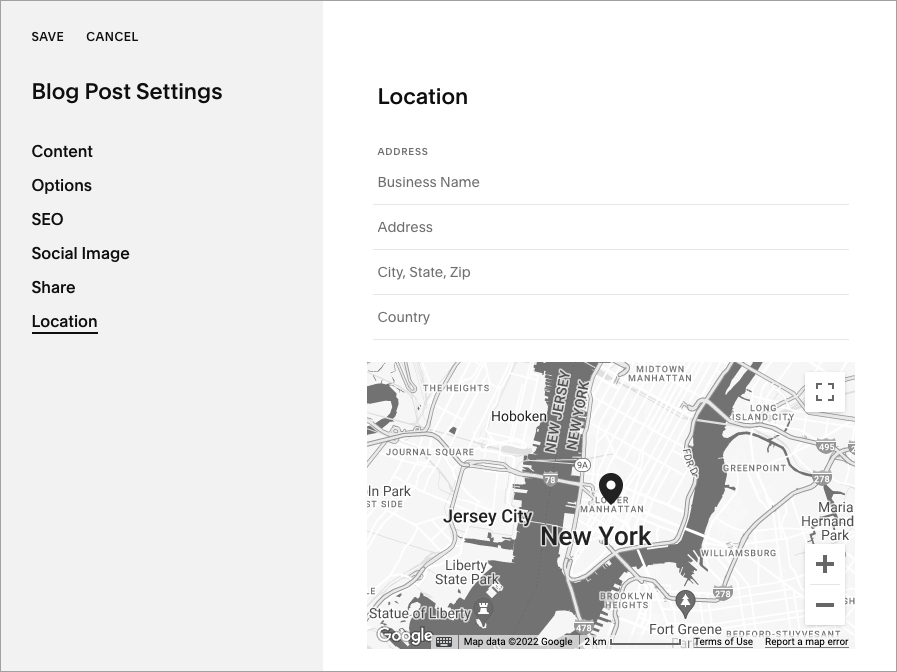
(Most users won’t need to worry about a post location, but you can learn more about this setting in the Squarespace help pages).
Publishing your post
Once you’re happy with all your content and your settings, you can put your post live!
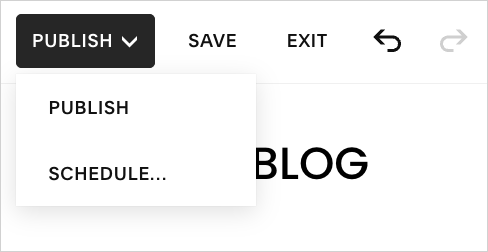
To do this, go to the top left corner of the Squarespace editor where you’ll see the ‘Publish’ button. Squarespace gives you a few choices regarding what to do with your post content here:
- The ‘Save’ option saves a draft of your post, but doesn’t publish it.
- The ‘Publish’ option lets you put it live immediately.
- The ‘Schedule’ option lets you set a future publication date.
- The ‘Exit’ option, takes you out of your post and discards any changes you’ve made to it.
When you choose the ‘Publish’ option, you’ll get a notification that your post is live, and you’ll be given the option to share it on social media or via email.
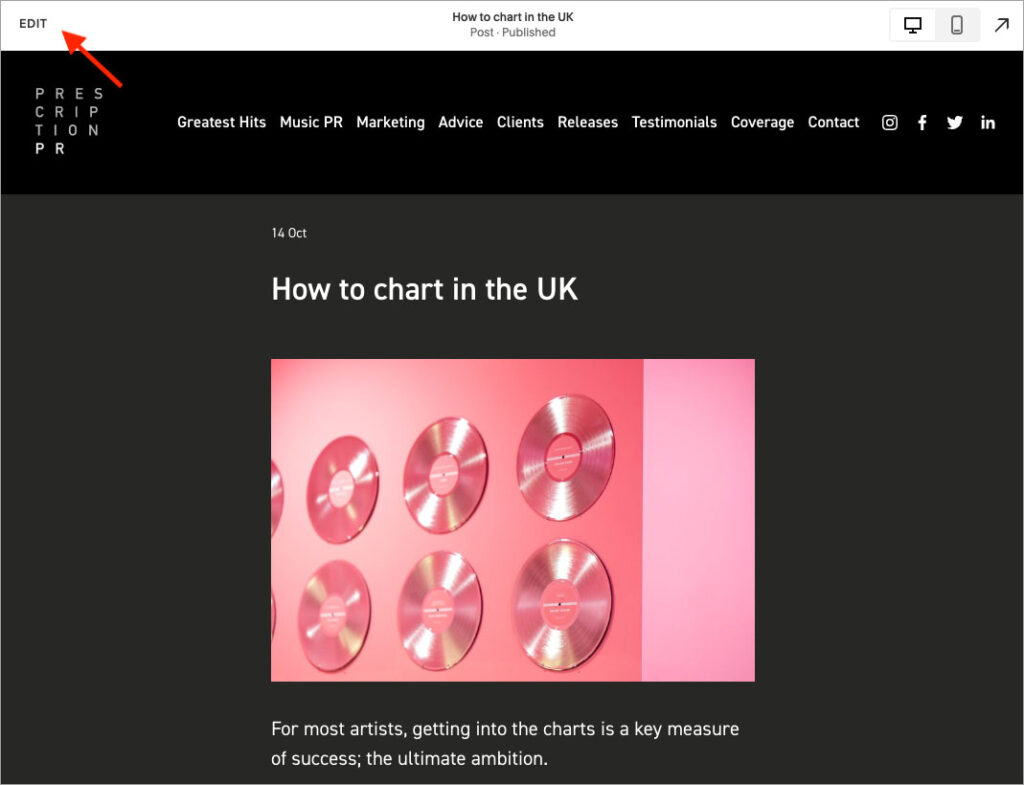
If at any stage I want to edit my post, it’s just a case of going back to my list of posts, selecting it and clicking the ‘Edit button’ at the top left corner of the post.
OK, so that’s the basics of blogging on the Squarespace platform!
But it’s one thing to create a blog, it’s quite another to attract readers to it. Let’s look at how to do that.
Attracting readers to a Squarespace blog
To make sure people actually visit your blog, it’s really important to find out what people want to read on it.
This involves a process called keyword research, which we explain in the video below (and in our guide to keyword research).
💡Tip: You can access an extended Semrush trial here.
The next resource I’d like to share is a video that highlights ten key ways that you can increase the audience for your blog. It covers everything from finding the right writer to SEO to email marketing, and is a must-watch for any new Squarespace bloggers.
And finally, you might find our general guide to Squarespace SEO useful. You can watch this below.
And that’s it – our guide to blogging on Squarespace! Good luck creating your own blog.
If you have any questions, do leave them in the comments section at the end of this post. We read them all and will do our best to help.
Squarespace blogging — FAQ
Is Squarespace good for blogging?
Yes. It’s easy to create a blog with Squarespace, and the platform gives you the professional features you’ll need to maintain it (including SEO tools, tags, categories and an RSS feed). However, you should note that Squarespace blogs don’t provide version history or autosave features.
Can you make money blogging on Squarespace?
Yes. It’s perfectly possible to monetize a Squarespace blog effectively, but as with any blog, you’ll need to invest time in producing the sort of blog content that drives traffic (and by extension, sales or advertising revenue). You’ll also need a product to sell or advertise.
Which platform should I use for my blog, Squarespace or WordPress?
WordPress is definitely the more professional blogging platform — it is more fully-featured and lets you make use of autosave and version history features. However, it can be harder to set up and maintain a WordPress site than a Squarespace one. You can learn more about the differences between these two platforms in our Squarespace vs WordPress comparison.
Can I blog for free with Squarespace?
You can’t blog for free with Squarespace — a paid-for plan is always required. However, a free trial lets you try all the blogging features out.
No comments