When it comes to tools for creating digital art, people often think of Adobe products like Photoshop and Illustrator — Canva is better known for as a solution for creating marketing material. But you can use Canva for more creative purposes, and in this post I’m going to show you how to make digital art using it.
I’ll cover four ways to create artistic projects in Canva, using…
- its AI art generation tool to create images from text
- the Canva editor to create collages from graphic elements
- the ‘Draw’ tool to create freehand drawings
- the Magic Write feature to spark ideas for text-based art.
Let’s look at each in turn.
Using Canva’s AI art generation tool
The easiest way to create digital art with Canva is to let the tool do it for you, via its ‘Text to Image’ facility.
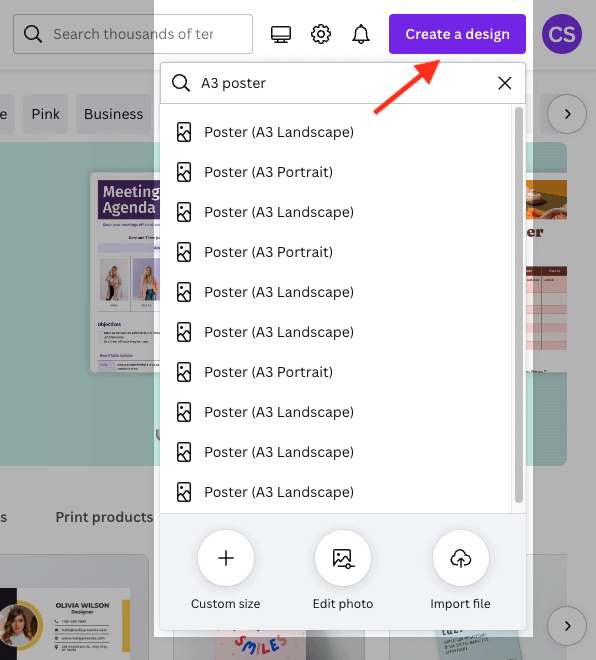
To use this, log into Canva (or start a free trial if you haven’t got an account), then click on the ‘Create a design’ button in the top right of the Canva interface to choose a design format.
This lets you create a design from the most popular Canva design formats.
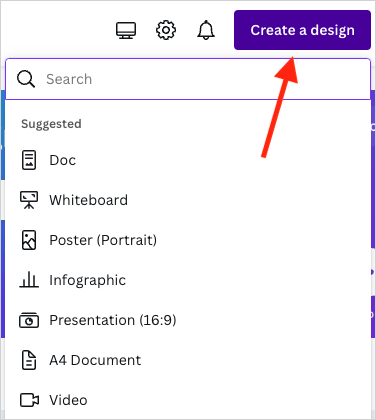
Next, simply click on your preferred design format to start your design.
(For the purposes of this demonstration, I’m going to design an A3 poster.)
When the Canva design interface opens, you’ll see the elements panel on the left side of the screen, with the design canvas on the right.
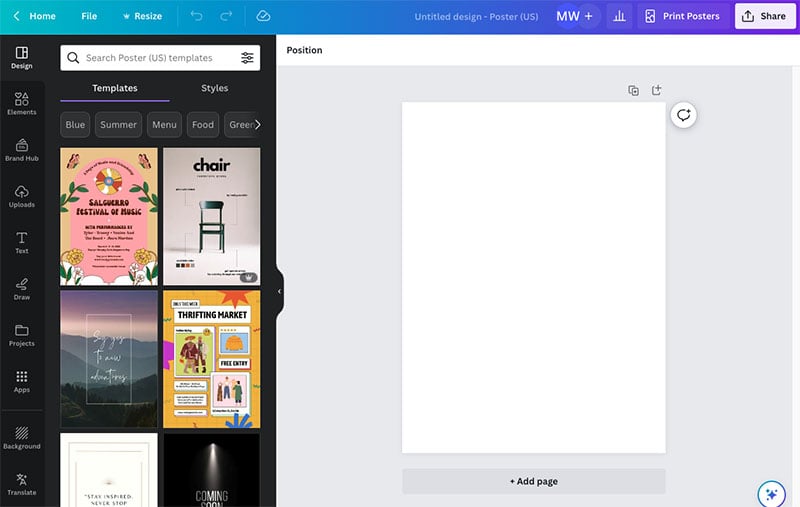
In order to use the AI art generation tool, you’ll need to use the free ‘Magic Media’ app. To do this, click on the ‘Apps’ icon (pictured below).
This will bring up a search box for all the available apps in Canva.
Enter ‘Magic Media’ into the search box and hit return on your keyboard. You will then see the ‘Magic Media’ app at the top of the results.
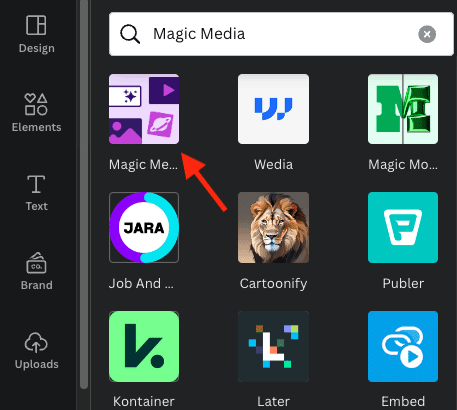
Click on the ‘Magic Media’ app (highlighted above) to use the app.
Here’s where the fun begins. At the top left corner of the interface, you’ll now see a box inviting you to describe the image you want to see.
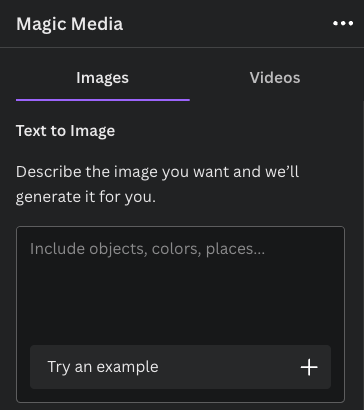
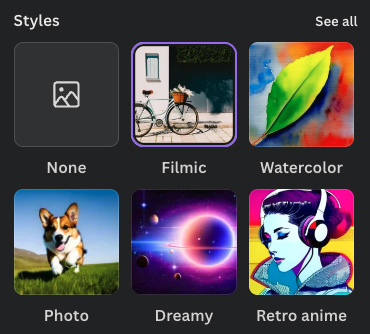
Underneath this box, you’re given a range of styles to choose from: watercolor, photo, anime, and so on. You can expand these style options by clicking on the ‘See all’ option — this gives you access to around 26 different art styles to choose from in total.
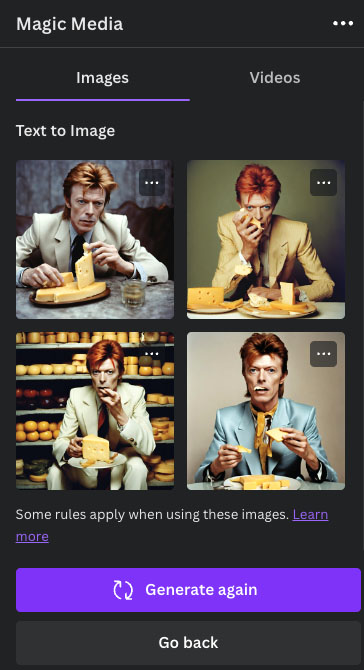
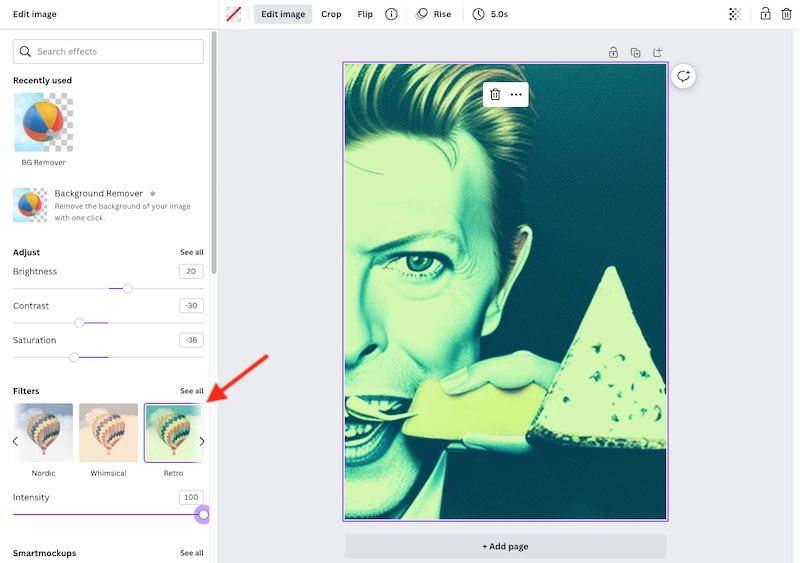
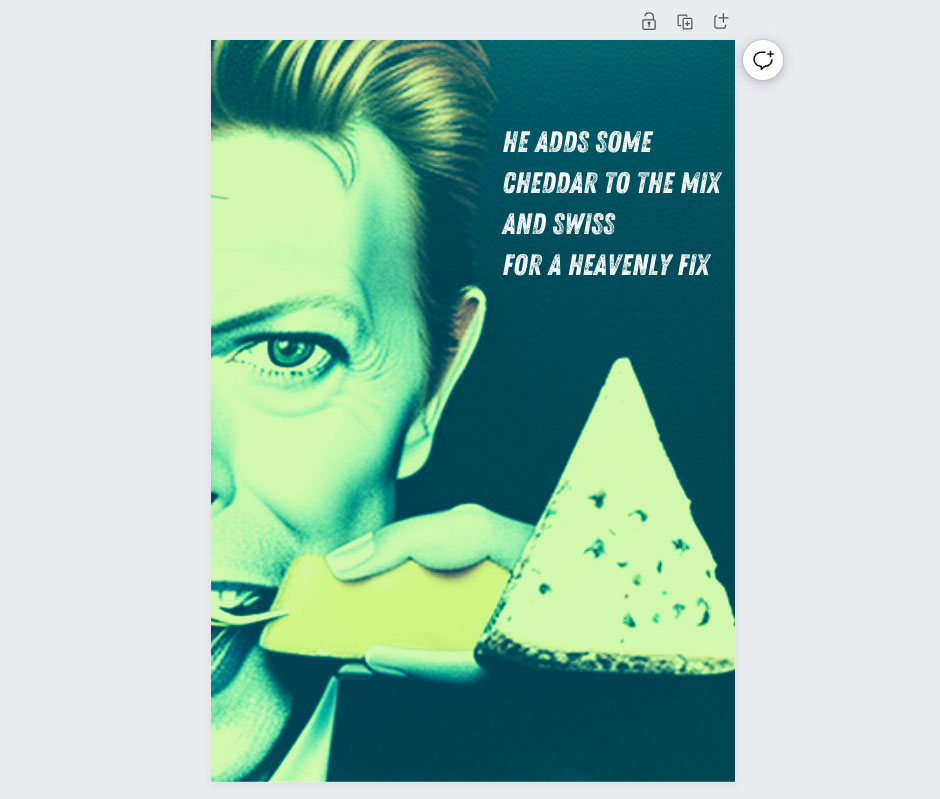
Pick your style, and then enter a phrase into the image description box — for example, “David Bowie eating cheese”.
You’ll then be given four artworks to choose from, along with the option to generate more or go back to previously generated images.
Once you’ve found an image you’re happy with, you can drag it onto your canvas.
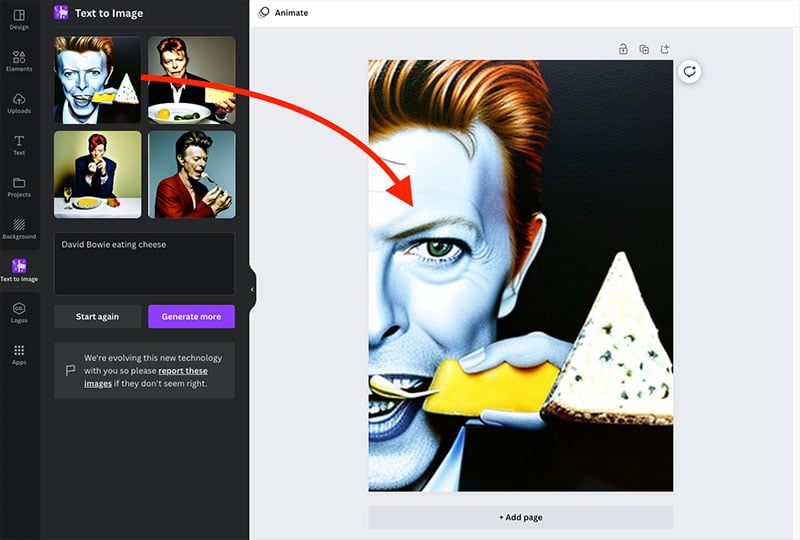
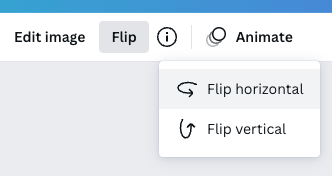
When it’s there, you can use the controls at the top of the screen to edit the image. These let you apply filters and remove backgrounds; you can also use them to crop, flip or animate the image.
You now have a new, if slightly strange, creation which you can distribute digitally or print (I explain how to do both at the end of this post).
Creating collages using the Canva editor
Another type of digital artwork that you can create in Canva is collages.
To create one, go to the Canva home page and click the ‘Create a design’ button at the top right hand corner of the screen.
There, you can pick a layout that suits you. (For the purposes of this demonstration, I’m going to go with a poster layout again).
You’ll then be taken to to the main Canva editor, with a blank design on the right hand side of the screen, and controls for adding content to it on the left.
By default, you’ll see a lot of corporate-looking templates on the left initially (in the ‘Design’ tab). To create a collage, you’ll usually want to avoid these.
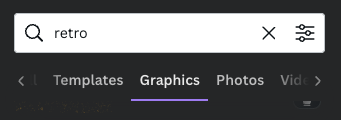
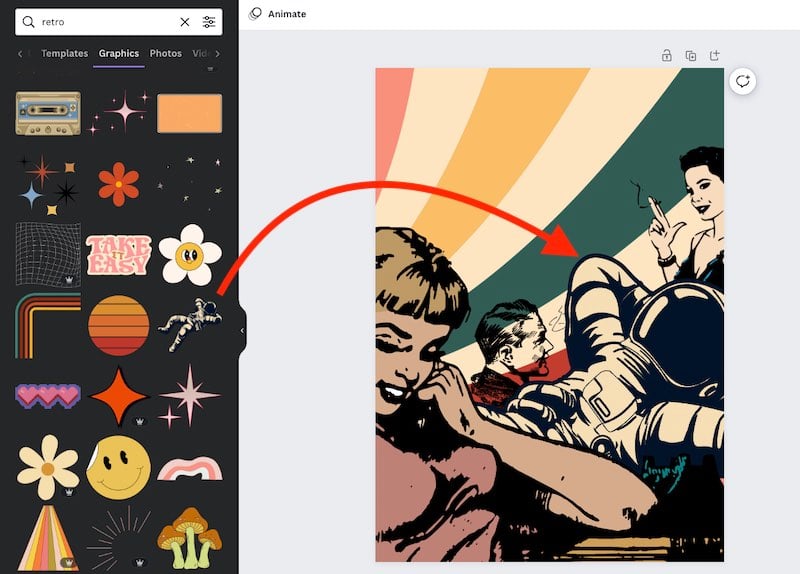
The best way to source interesting items for a collage is to click on the ‘Elements’ tab.
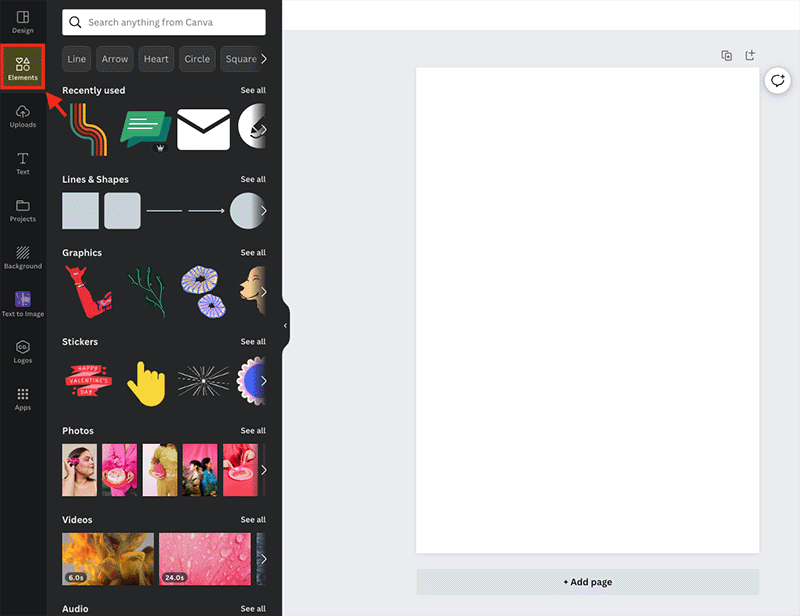
You can then use the search bar provided to search for elements for your collage — photos, graphics, videos, charts and more.
(When it comes to creating collages, you’ll usually just be interested in photos and graphics).
Once you’ve done that, you’ll get access to a wide range of imagery that you can simply drag and drop onto the canvas.
You can simply pick items that you’d like to feature on your collage, and repeat the process until you’re happy with the results.
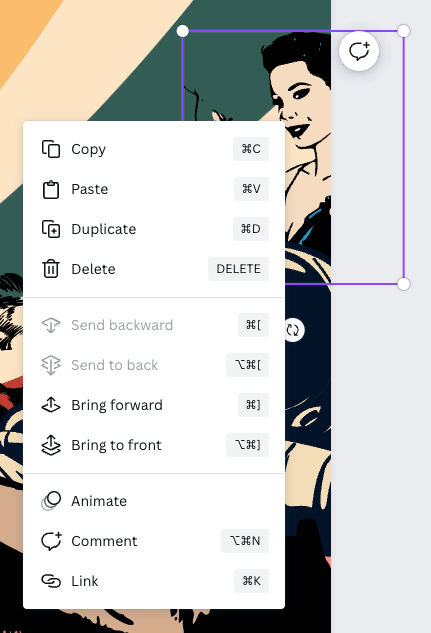
Once an image has been added to the collage, you can play with its positioning — either by left-clicking on it and dragging it into a new location, or right-clicking on it to change its order (i.e., to place it in front of or behind other elements in your collage).
You can also use the ‘Edit’ button to apply the image filters discussed earlier, or the ‘crop’ and ‘flip’ options to tweak collage components further.
From here, it’s a case of simply working on your collage until you’re happy with it. Once you are, you can share, export or print it (more on this shortly).
Using the ‘Draw’ app to draw freehand
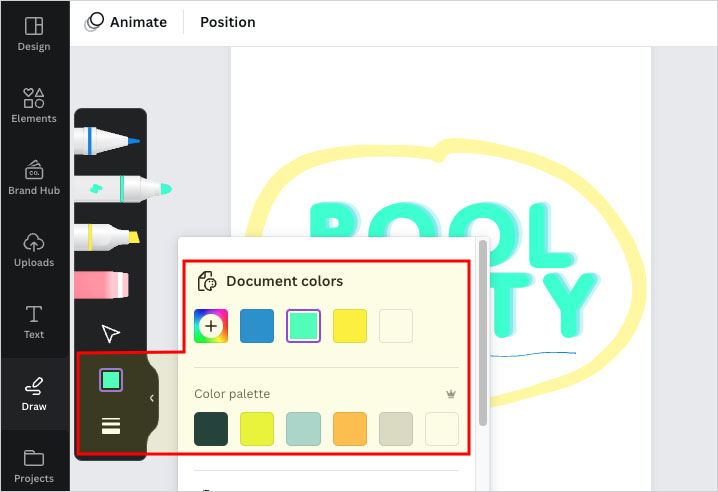
If you want to use Canva to create drawings, you can now do this directly in the Canva editor by using the ‘Draw’ tool, which is located on the left hand side of the main interface (see screenshot below).
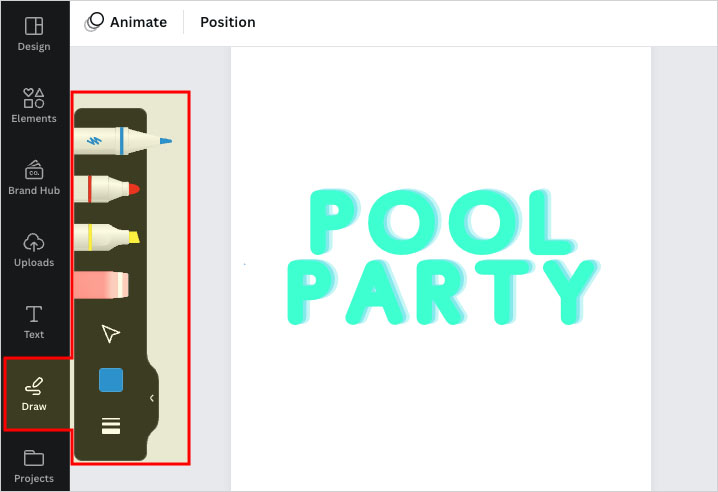
This provides you with a pen, a marker, a highlighter pen and an eraser tool.
To use this, you simply click on your desired pen, and create freehand drawings with it on the main canvas by holding down your computer mouse.
To adjust the color and stroke weight of each pen, just click on the settings below the pen options.
Using Magic Write to create digital art
So far, we’ve looked at creating visual art with Canva. However, you can also use the tool to create text-based art — using its new ‘Magic Write’ feature.
The Magic Write tool essentially writes copy for you, based on instructions you give it (think of it as a very basic version of ChatGPT). And, providing you give it the right sort of instructions, you can use some of the output for artistic purposes.
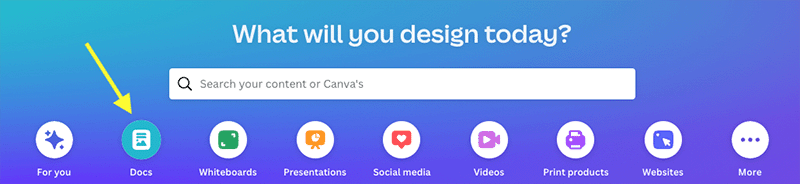
You can use ‘Magic Write’ in any type of Canva design, but for the purposes of demonstration, we’ll take a look at how you use it in Canva’s document creation tool, ‘Canva Docs’.
To access this, go to the Canva home page and click on the ‘Docs’ icon underneath the main search bar.
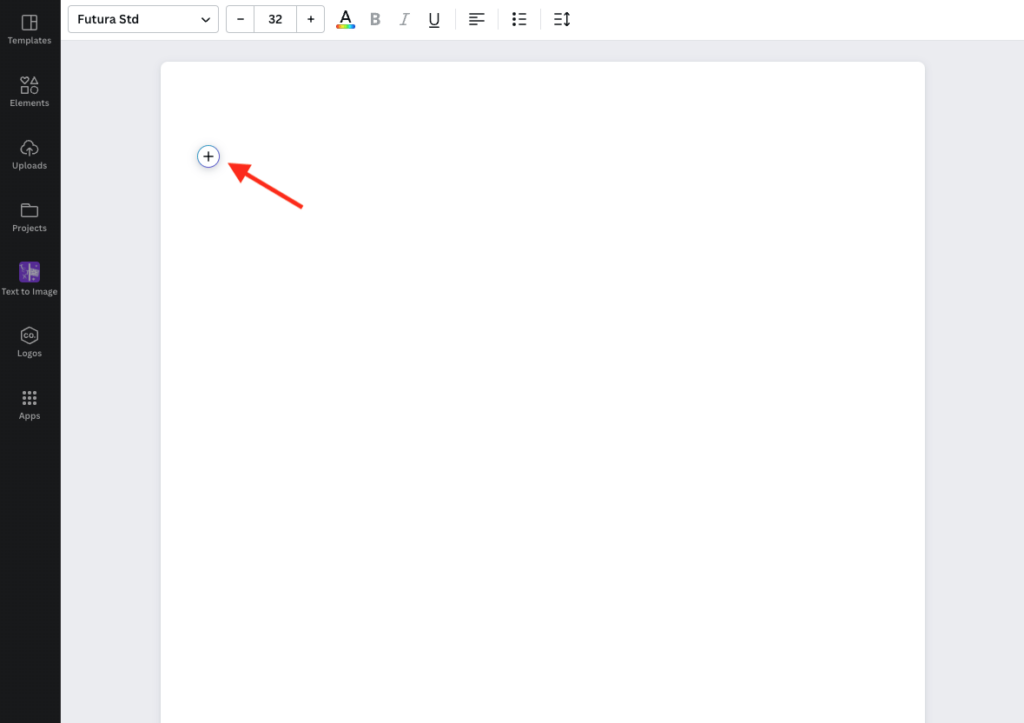
This will open a blank document in the Canva interface. To start using the Magic Write tool, click the plus icon on the document.
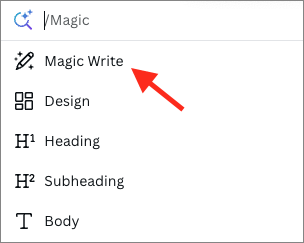
Choose ‘Magic Write’ from the dropdown menu that appears.
You’ll then get the option to give Magic Write an instruction — for the purposes of this demonstration, I’m going to ask it to write me a poem about David Bowie eating cheese.

You’ll then be given some text based on your instruction.
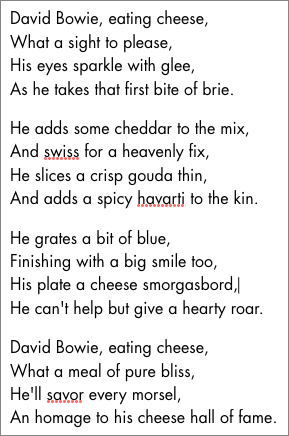
Now, whether or not the results you’ll get from Magic Write constitute ‘art’ or not is — to put it mildly — highly debatable. But you may find phrases in them that can be incorporated into digital art, or ones that spark ideas.
In terms of what you do to present this text, that’s up to you. You can format it extensively using the typeface controls that Canva gives you, or perhaps more interestingly copy and paste it into a piece of visual art you’ve already created (as per the example below).
As with the AI-generated art and collages we discussed earlier, it’s a case of experimenting with Magic Write until you come up with something that you feel is artistic enough to export!
And speaking of which…
Exporting and printing your digital art
When you’re happy with your new piece of digital art, it’s time to take it outside of the Canva environment.
You have two main options here: you can either export it to a digital file (JPG, PNG) etc., or interestingly, you can order a print of it from Canva.
Exporting your art to a file is very easy: you just click the ‘Share’ button at the top-right hand corner of the screen, followed by the ‘Download’ button. This will let you output your file to a variety of different formats.
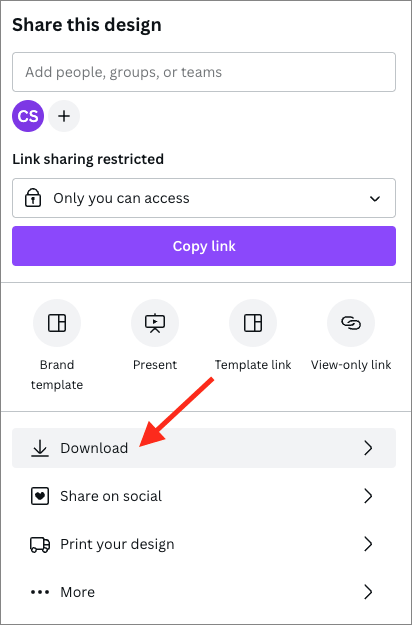
As mentioned above, another option is to use Canva’s printing service to create a physical version of your artwork. To do this, click the ‘Print your design’ option in the Share menu. You’ll then be able to choose from a wide range of items that you can turn your artwork into — posters, canvas prints, mugs etc.
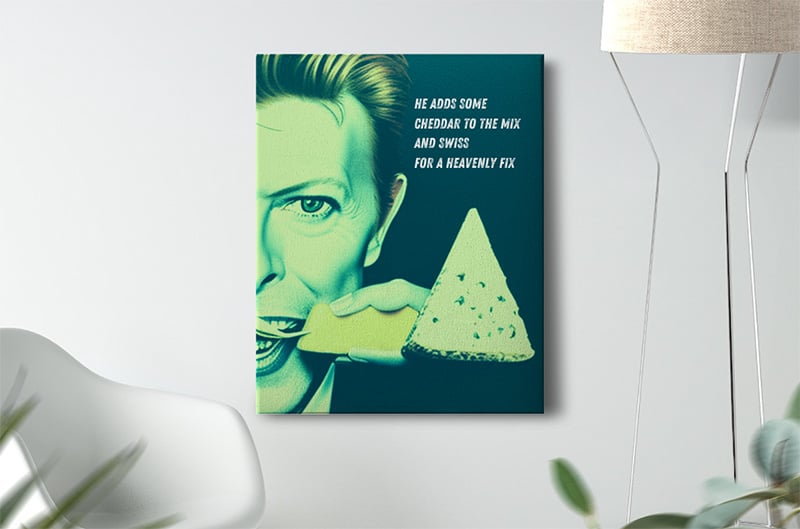
You’ll be able to generate a preview of them before ordering a print (see the image below for a mockup generated by Canva of how your artwork would look as a canvas print).
There are other ways you can take your artwork outside of Canva — for example, you can share it on social media or create a URL where people can view it.
And that’s it — you’ve just created some digital art with Canva!
Any questions? Just leave them in the comments section.
Making digital art with Canva — FAQ
Can you make digital art with Canva?
While not necessarily the ‘natural’ choice for creating digital art with — tools like Photoshop and Illustrator are technically much better for this sort of thing — Canva nonetheless gives you a wide range of features and stock imagery that make it possible to create artistic projects. The main advantage of using Canva as a tool for creating digital art involves ease-of-use — the learning curve for Canva is extremely gentle, and creating artwork with it is extremely quick and simple to do.
Can I sell digital art that I create with Canva?
The imagery in Canva is royalty-free and can generally be used for commercial purposes (unless you’re on a Canva for Education plan). It’s best to check Canva’s content license agreement carefully before putting material on sale, however.
Can I use Canva to sell on Etsy?
Yes, you can sell designs created with Canva on Etsy. However, it’s always advisable to check Canva’s content license agreement carefully before listing your Canva artworks on the marketplace, just to make sure that you are not breaching any of its copyright rules.
Can I draw freehand in Canva?
Yes — Canva now features a fully-integrated drawing tool that lets you easily create freehand drawings across all your Canva designs.
Related resource: How to sell art online
Comments (1)