In this quick guide, I’m going to show you how to sell your art online. Read on to discover the best way to sell either physical or digital art products, build your own art brand, and reach a large audience of art lovers.
If you’re in a hurry, our starter stack below can give you quick access to the tools you’ll need to sell art online — or read on for a more detailed guide to doing so.
Starter stack for artists — tools that can help you sell your art online
| Tool | What it does |
| Shopify | Lets you build an online store with your own brand, mailing list, and blog. |
| Etsy | Lets you sell your art to an established audience of art enthusiasts. |
| CedCommerce | Lets you sync your Shopify store products to Etsy easily. |
| Printful or Gelato | Lets you add your artwork to products like prints, t-shirts and home decor items — and have them printed, packed and shipped on your behalf. |
| Omnisend | Lets you build a mailing list. |
| Pinterest and Instagram | Social media platforms that are particularly good for showcasing art. |
| Canva | Useful for creating mockups of your art and promotional material for use on social media. |
The two key ways to sell art online
For me, there are two key ways to sell art online.
The first method involves selling your work yourself, using an online store built with Shopify.
The second is to sell your art on Etsy.
Now both of these approaches have pros and cons.
If you build your own online store via a platform like Shopify, you get lots of control — over branding, pricing, user experience, and customer data. And you don’t have to worry about paying commission every time you sell a piece of work.
The downside of this approach is that it’s up to you to generate traffic to your online art store — when you’re building a website entirely from scratch, you’ve also got to build an audience for it.
The benefit of selling art on an online marketplace like Etsy is that you get quick access to that audience — millions of people browse Etsy every day looking for artwork.
However, you’ll be competing with a lot of other sellers, and Etsy always takes a cut of your sales.
But there’s nothing to stop you from using both approaches to sell your art. And in fact, this is the best way to go about things.
So, in what follows, I’m going to show you a setup that lets artists build their own brand on Shopify AND reach a huge audience through Etsy at the same time.
But first, let’s look at how to sell art on Shopify.
How to sell art online with Shopify
You can sell both physical and digital art on Shopify, and the first step to doing either is to start a free trial of the platform.
The best way to do this is by using the three-month version of the Shopify trial — it gives you a lot of time to try out the platform and build your store.

Then, it’s a case of choosing a theme for your store (tip: Shopify’s free “Studio” theme works very nicely for artwork).
Next, you need to start adding your art products to your store.
I’ll start by showing you how to sell physical art products on a Shopify store, and then move on to selling your pieces digitally.
Selling physical art with Shopify
To add a physical artwork to your Shopify store, go to the Products section in your Shopify dashboard and click “Add product.” Then, add a product title and description, and upload a clear photo of the artwork you want to sell.
You’ll also need to enter pricing information, and, if relevant, product options — for example, size, material, frame type and so on.
And make sure you enter the correct weight for your piece — Shopify needs this to calculate shipping fees.
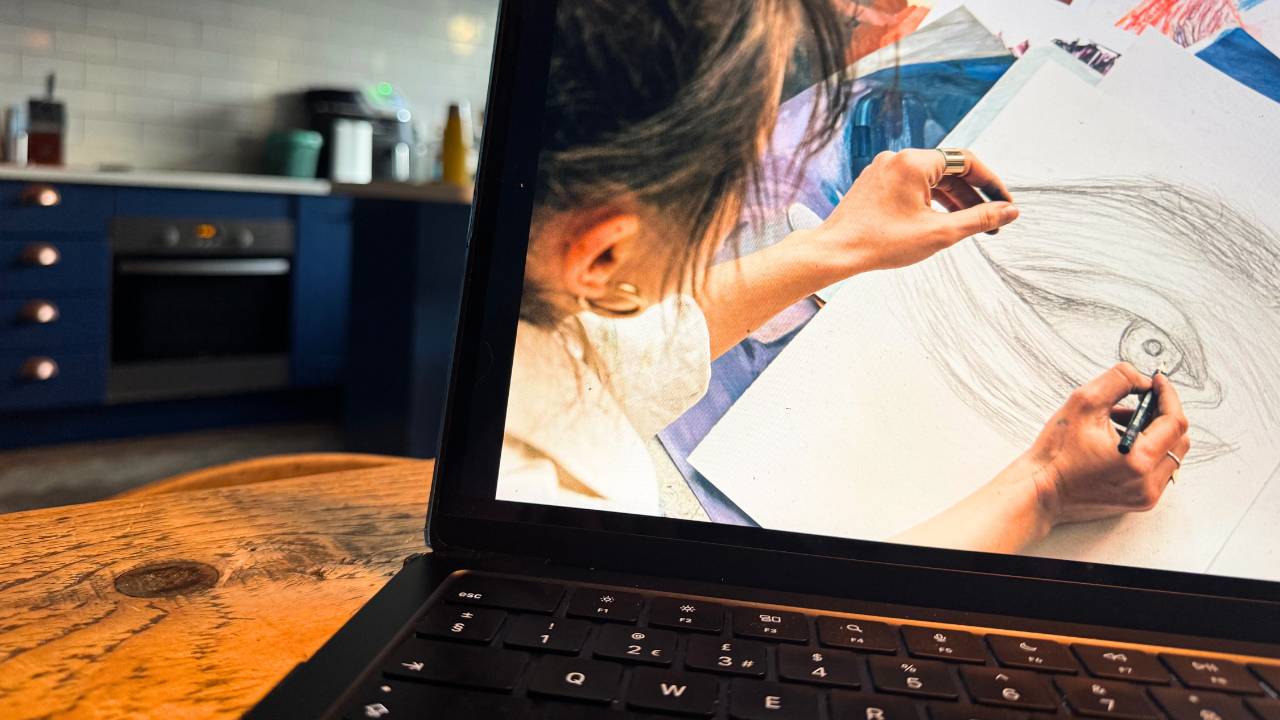
💡 Tip: Product photography is especially important when you’re selling pieces of art online. Because customers can’t inspect your art in person, your images have to do a lot of the selling for you.
So, before you create your art store, make sure you’ve got a great collection of photos ready to upload. And when you do upload them, don’t rely on a single flat image of the artwork — include a clean shot of the piece itself, a close-up showing texture or detail, and, ideally, a room mockup that shows the artwork to scale.
If you’re selling framed prints, canvases or physical originals, it’s also worth showing the frame, paper type, canvas edge or packaging where relevant. The more clearly buyers can understand what they’re getting, the more confident they’re likely to feel about making a purchase.
If you have multiple copies of the artwork you’re selling, and want to limit or keep tabs on how many copies of it are sold, enable tracking under the ‘inventory’ setting.
After that, it’s a case of configuring shipping settings — Shopify lets you offer free shipping, charge flat rates, or apply real-time carrier rates. You can set shipping options in Settings > Shipping and Delivery.
When you’re done with everything, click the “Save” button to list your product on your store.
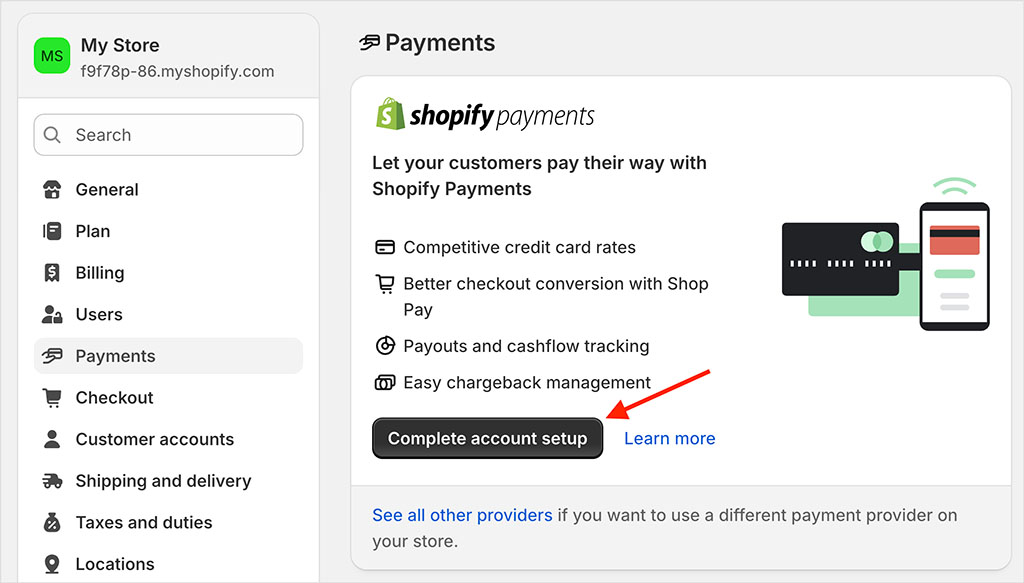
In order to actually sell it though, you’ll need to connect a payment processor.
Shopify’s own processor, Shopify Payments, is usually the best option here, because it doesn’t charge transaction fees. However, you can also use PayPal, Stripe and other payment gateways if you prefer.
You choose your processor by going to Settings > Payments.
Finally, before you launch your store, you’ll need to connect a custom domain name to it — just go to Settings > Domains to do this.
You can either buy a new domain from Shopify, or connect one you already own.
OK, so those are the basic steps involved in setting up a simple Shopify store, but if you’d like more detailed instructions, check out our comprehensive free e-book on starting a Shopify store. This is an essential resource for anyone interested in building a store with the platform.
Shopify tutorial for beginners (video guide)
Shopify trial | Guide to starting a Shopify store | Launch checklist for Shopify
Now let’s take a look at selling digital art with Shopify.
Selling digital art with Shopify
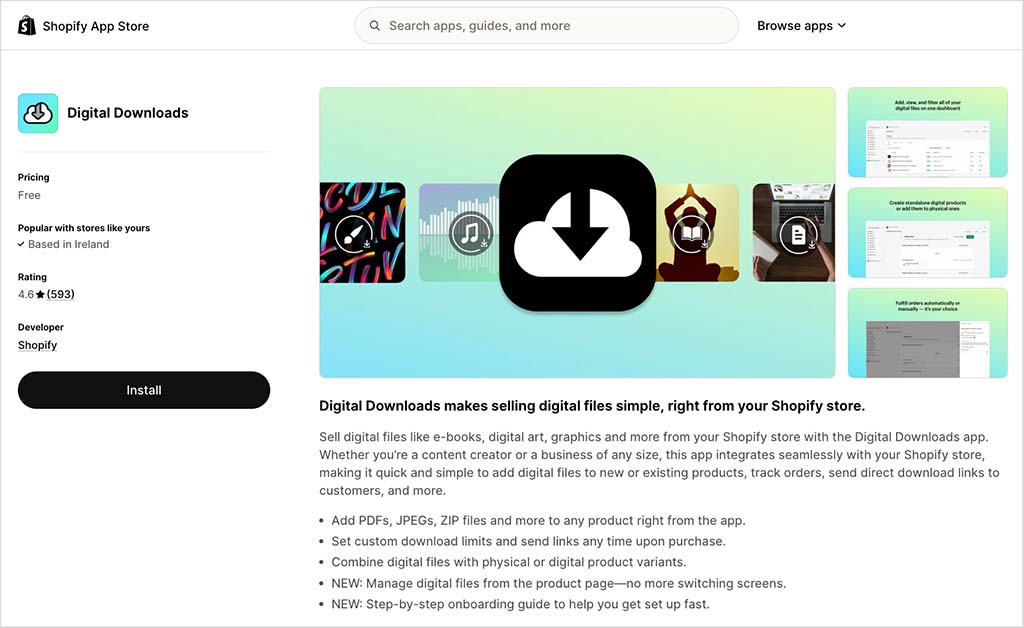
The process for selling digital works of art on Shopify is fairly similar to selling physical ones. The main difference is that you need to install a downloads app first.
The most straightforward option here is Shopify’s own Digital Downloads app. This is free, and once installed, it lets you upload files to Shopify that you sell through your storefront.
If you need advanced features, like license keys, watermarked files or additional delivery options, apps like SendOwl or Sky Pilot are also worth looking at. If you’re interested in selling NFTs, you could consider using the Verisart app.
For the purposes of this demonstration, though, I’m going to show you how to sell digital art using Shopify’s own digital downloads app.
First, install the Shopify Digital Downloads app from the app store.
Then, click “Digital Downloads” in the apps section of your dashboard, and “Add digital product”. You’ll then see the option to add your artwork file to your product.
Click the “Add files” button and upload the file containing your work.
Once you’ve done this, you’ll see some fulfillment settings. These let you specify whether you’d like to deliver your artwork automatically or manually, and the maximum number of times that a customer can download it.
Set your preferences, and click “Save”. You’ll then be able to add the relevant information about your digital artwork — title, description, pricing and so on. You can also choose whether to put your product live immediately — by setting its status to “active” — or to keep it as “draft”, and work on it later.
Once you set your product to “active”, your file will be visible in your store, and can be purchased by your customers.
Finally, it’s worth mentioning that Shopify also gives you the option to use your digital art to create and sell physical products — like t-shirts, prints, home decor and so on.
This is done by connecting a “print on demand” service like Gelato, Printful or Printify to your Shopify store; this lets you upload your artwork and add it to products of your choosing.
These can then be listed on your Shopify store, and whenever somebody buys one, your print on demand service makes it and ships it to your customer.
If you’d like to learn more about this way of selling, just watch our print-on-demand video guide below.
Shopify print on demand — video guide and tutorial
Related resources: Shopify trial | Printful review
OK, so now I’m going to look at selling art online using Etsy.
Selling art online with Etsy
So far in this guide, I’ve shown you how to sell your art online on your own store. But there’s one big catch with this: selling on your own platform means that you have to build your own audience for it — and this can be quite tricky.
That’s why a lot of artists often turn to existing marketplaces that already have big user bases. And for artists, none is more relevant than Etsy, a platform made for makers.
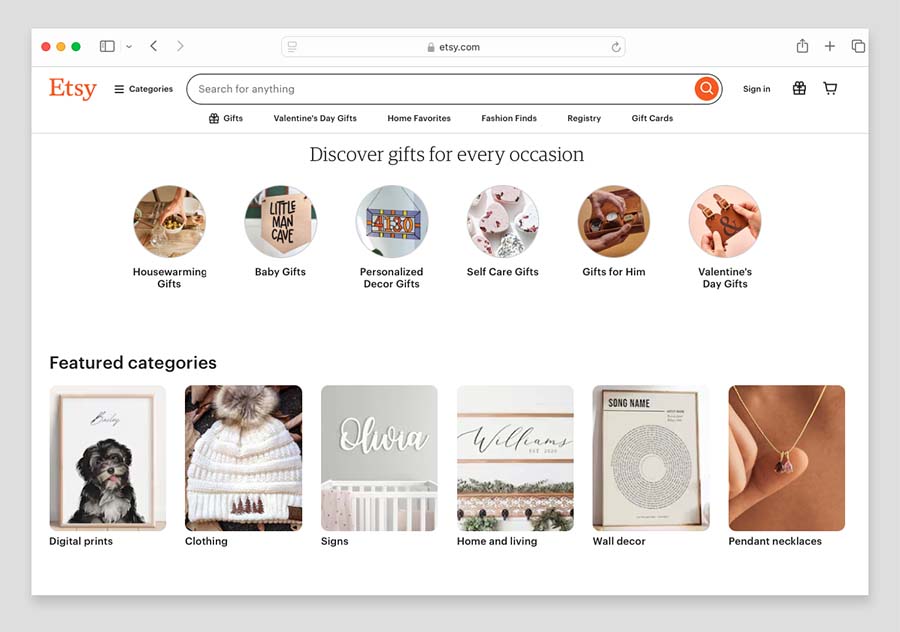
People actively go there looking for things like prints, paintings, illustrations, and digital art.
Selling on Etsy is fairly straightforward. First, you’ll need to create an account at etsy.com/sell.
Next, you have to name your shop, customize its appearance, and pick a language for it. You’ll then be able to upload your art to the platform, set pricing, and choose how you get paid.
There are a few things to bear in mind here: first, Etsy charges a flat fee of 20 cents to publish or renew a listing. The second is that Etsy takes a 6.5% cut of anything you sell. And finally, Etsy is quite strict on the kind of products you can sell.
As it’s a platform focused on selling creative work, artists don’t have too much to worry about here, but it’s still a good idea to take a look at Etsy’s selling guidelines before listing an item on the platform.
OK, so those are two key ways you can sell art online. Now let’s look at how you can get the best of both worlds.
Getting the best of both worlds by using Shopify AND Etsy
When it comes to selling art online, I usually recommend using Shopify and Etsy to do so.
Creating your own Shopify website to sell art is important, because it gives you your own platform — one that you can use to build a personal brand, blog, grow a mailing list and promote offers with.
But there’s no doubt about it: if you want to tap into an existing audience of art buyers, you’re going to need to list products on Etsy too.
And the good news is that Shopify connects pretty easily with Etsy — you can use apps like Salestio or CedCommerce to sync your products automatically with it.
These apps let you manage your inventory, descriptions, and master product list in Shopify, and then “push” that data to Etsy. When an item sells on Etsy, the integration automatically reduces the stock count on Shopify (and vice versa).
💡 Tip: If I were starting an art business from scratch, I wouldn’t list dozens of products straight away. I’d start with a small collection — perhaps 5 to 10 pieces — and list them on both Shopify and Etsy.
I’d use Etsy to test which pieces people are actually searching for and buying, Shopify to build the brand and collect email addresses, and a print-on-demand service to avoid holding inventory at the start.
Once I knew which styles, formats or subjects were getting traction, I’d create more products based on those.
And that’s it — now you know how to create an online home for your artwork!
The next step is to promote it — to help make sure you do this right, I’d encourage you to check out our detailed Shopify SEO tutorial, our email marketing tips, and our guide to content marketing.
And finally, if you have any questions about selling art online, just drop them in the comments.
We read them all, and will do our best to help.
Get a host of excellent free resources now
For a limited time, we’re offering Style Factory readers some excellent free tools. Sign up below and immediately receive:
- our online store comparison chart
- extended free trials and discount codes for essential business apps
- a downloadable cheatsheet on how to create an online store
- our SEO, blogging and “how to start a business” cheatsheets
- our latest newsletters on ecommerce and growing a business
No comments