We have a strict honest review policy, but please note that when you buy through our links, we may receive a commission. This is at no extra cost to you.
In this article, I show you how to sell your photos online — without needing technical skills. You’ll learn how to create an online store that lets you sell your work; sell images as downloads or prints; get your work on online marketplaces like Amazon and eBay; and promote your photography effectively.
Let’s dive in.
Thanks to accessible store builders and print-on-demand services, selling your photos online has never been more doable — and you don’t need to be a tech whiz to do it.
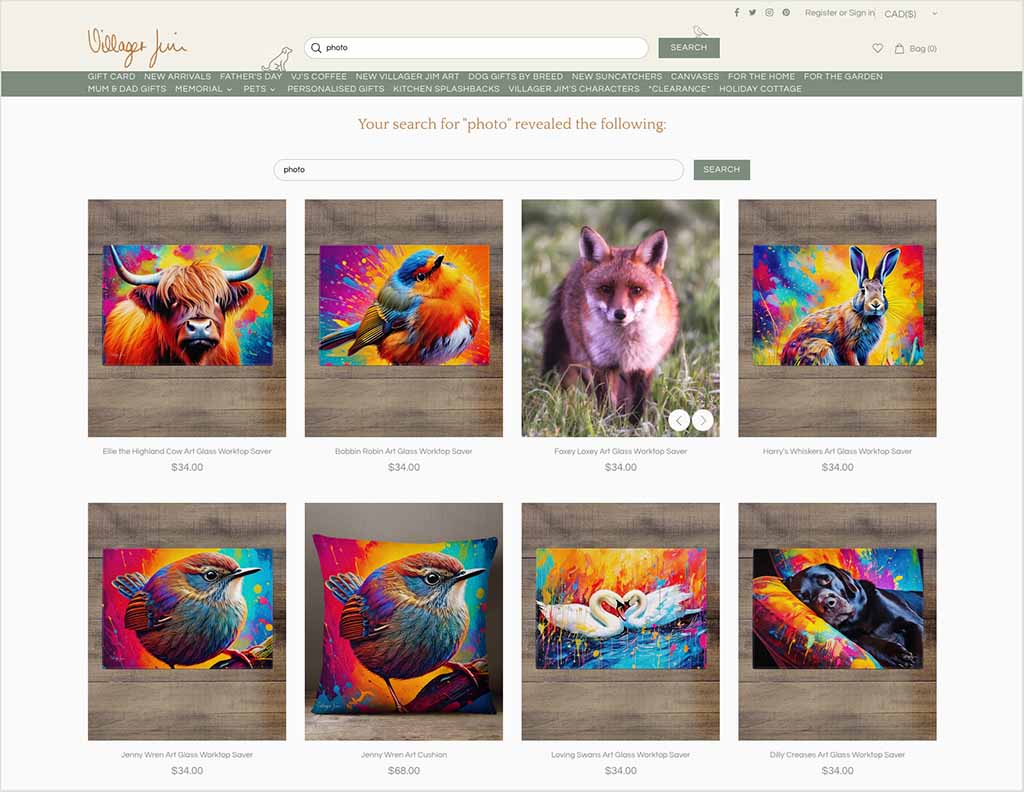
Thousands of independent photographers have already built successful online businesses this way. For example, Villager Jim, who gained attention with candid shots of his dog, now ships prints globally after growing a six-figure following. And Beckendorf Gallery, a Texas-based family art business, transitioned to online sales and began reaching customers far beyond its hometown audience.
And the market for online photography is significant — and growing. The global photography services industry is worth over $36 billion, and expanding by around 7% annually.
So, whether you’re thinking about selling your photos as digital downloads, museum-grade prints, or themed bundles, this guide will walk you through every step of starting a photography business.
Here’s what you’ll learn:
- how to choose the right ecommerce setup for selling your photos online
- how to protect your work and set licensing terms
- how to create polished product listings and organized collections
- how to sell in both digital and physical formats
- how to get your images onto online marketplaces like Amazon, Etsy and eBay
- how to expand your reach via stock photography sites
- how to promote your photography and connect with your ideal audience.
Let’s begin by exploring how to pick the best platform for your photo-selling business.
1. Choose your ecommerce platform
To sell your photos online, you’ll need an ecommerce platform that can do a few essential things:
- list your products
- accept payments securely
- deliver digital downloads
- handle physical product fulfillment (if you’re selling prints).
There are a number of platforms that can help with this — and we’ve reviewed many of them across our site.
Some of the most popular options include:
- Shopify – a fully-featured ecommerce platform that lets you sell digital and physical products to a global audience
- Etsy – a marketplace and store builder for creators focused on handmade or artistic work
- Squarespace – an all-in-one website builder with slick templates and easy-to-use built-in selling features
- Wix – beginner-friendly and good for smaller stores or personal projects.
Now, for the purposes of this guide, I’m going to use Shopify to demonstrate the store setup process, as it’s easy to use, meets all the key requirements for selling both digital and physical photos and, thanks to its powerful international selling tools, gives you more scope to scale your business than most competing ecommerce solutions.
Note: if you’d like to use Shopify to sell your photos, the best way to do this is via its special extendable trial. You can access this here.
And for a quick tutorial on how to use the platform, check out our ‘How to start a Shopify store’ video.
That said, the principles covered here — from protecting your work to connecting sales channels — apply no matter which platform you choose.
2. Decide what photos to sell
Once you’ve started your Shopify trial, it’s time to think about what to upload to your store.
If you’re anything like me, you probably have over 100,000 photos sitting in your Google Photos app — most of which are blurry café menus, accidental screenshots and multiple versions of the same sunset.
So, the first step in selling photos online is learning to curate. You don’t need to upload everything you’ve ever shot. In fact, you shouldn’t — it pays to start small and be selective.
So, focus on the types of images that are most likely to appeal to buyers — not just to you. These might include:
- landscapes and nature
- black and white photography
- travel and architecture
- abstract textures and patterns
- minimalist compositions
- animal and wildlife imagery.
That said, don’t be afraid to explore more unusual or niche concepts — especially if they’re presented with a clear visual style.
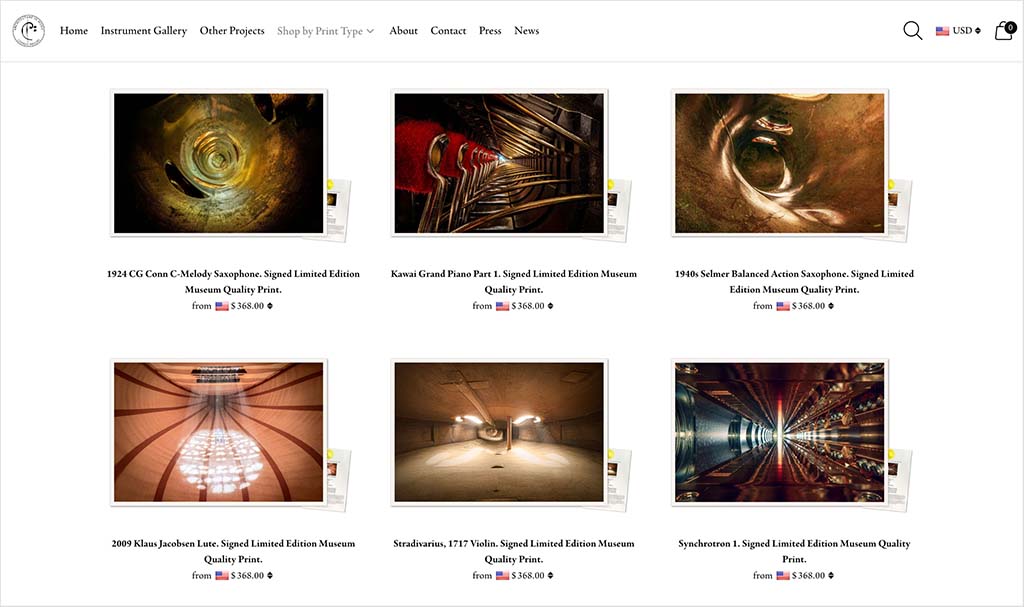
Charles Brooks, for example, turned high-resolution images of the interiors of classical instruments into a distinctive photo series that has attracted over 16 million views and evolved into a thriving print store (via Shopify). The takeaway? If your work has a strong concept and a cohesive aesthetic, there’s almost always an audience for it.
If your portfolio is already extensive, consider grouping your images into collections based on theme, color palette, or mood — I’ll cover how to organize them properly a little further on.
Next up: a look at how to protect your images and define exactly what customers can (and can’t) do with them.
3. Protect your work and set licensing terms
When selling photos online — especially as digital downloads — it’s worth taking a few simple steps to protect your images and set clear usage rules.
Start by making sure the images you display in your store aren’t the full-resolution versions: upload smaller or compressed versions for previews, and keep the high-res files for delivery after purchase. You can also add a subtle watermark using a tool like Canva (ideally placed where it’s hard to crop out but doesn’t distract too much from the image itself).

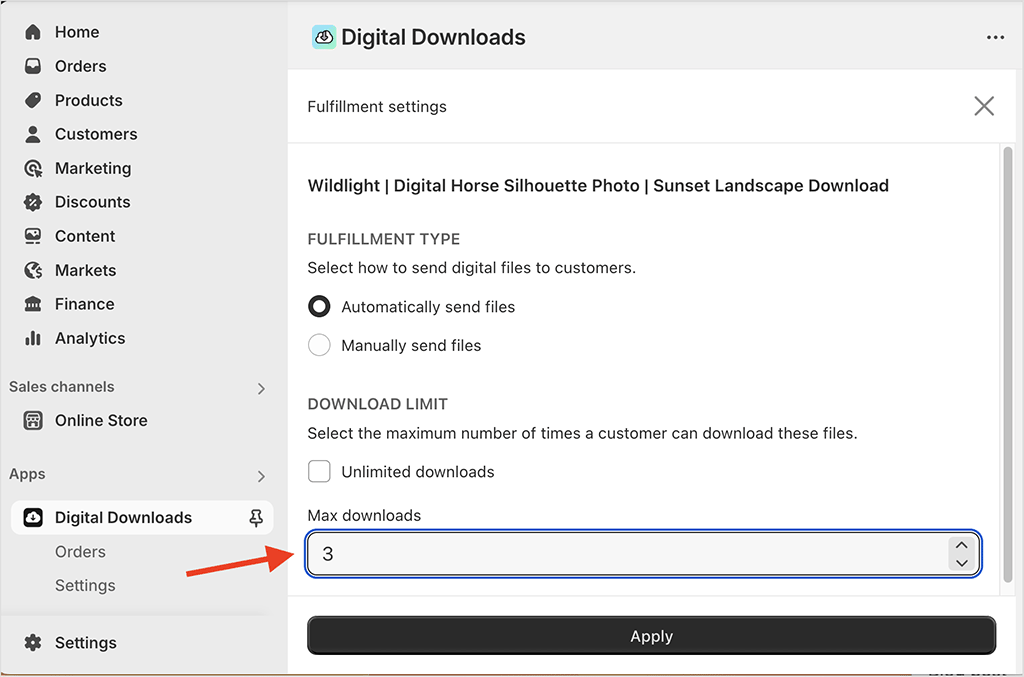
Most digital download apps (like Shopify’s ‘Digital Downloads’ or ‘SendOwl’) also help protect your files, by only releasing download links after purchase and limiting how many times a file can be accessed.
Equally important is making it clear what your customer is allowed to do with your photo once they’ve bought it — and that’s where licensing comes in.
For example:
- a personal use license might allow home printing or desktop use
- an editorial use license might cover use in a blog or magazine
- a commercial use license would permit marketing or resale.
You can explain this directly in the product description, or include a short license PDF with each download.
A little protection goes a long way — not just in deterring misuse, but in building trust with your store’s customers.
💡 Tip: Some photographers offer multiple license types at different price points. This lets you sell the same image to different types of buyers — from casual fans to businesses.
4. Select a theme that makes your photos stand out
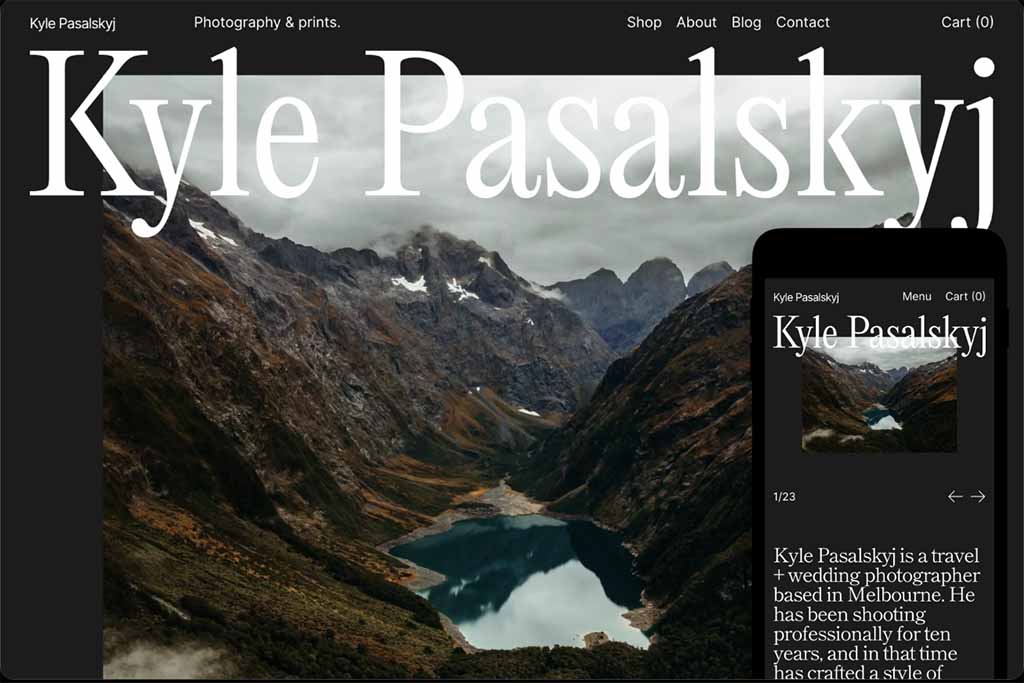
When it comes to selling photos online, presentation really does matter. A well-chosen Shopify theme not only gives your store a professional feel — it also helps your images do what they’re meant to do: speak for themselves.
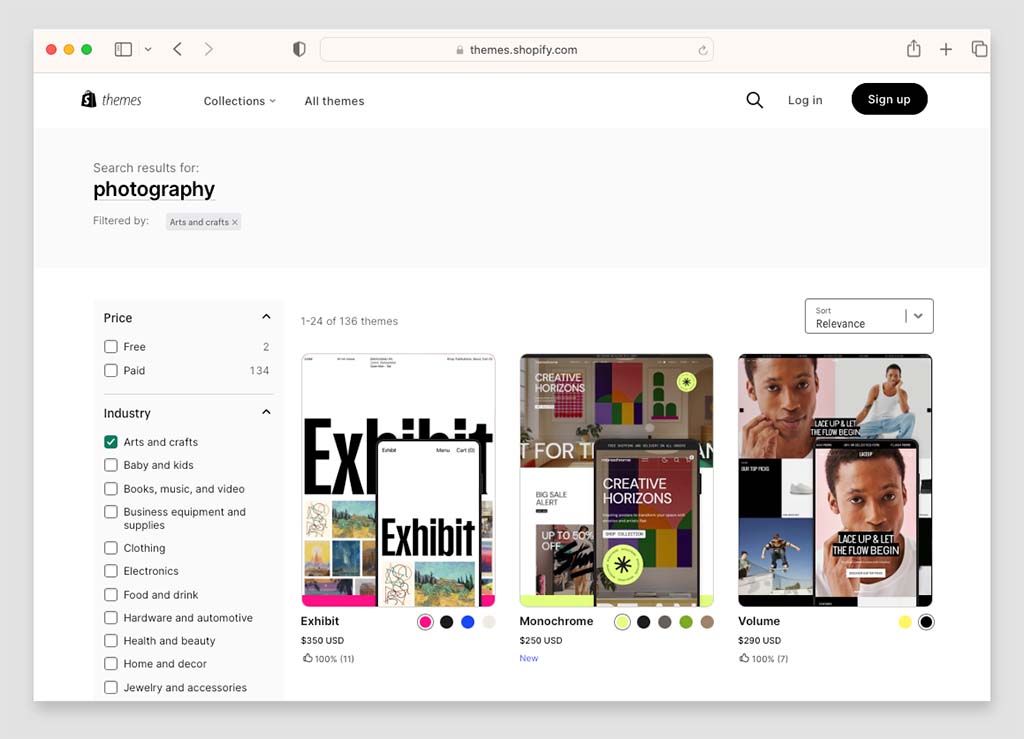
Shopify offers a wide range of themes, but some work particularly well for photography. You’ll want something clean, spacious, and image-led — a layout that puts your work front and centre.
A few themes worth exploring that work well for selling photos include:
- Publisher – a free, minimalist option that works well out of the box
- Exhibit – designed for visual artists, with flexible layouts and bold framing
- Lumin – bright, structured, and ideal for showcasing full-bleed images
- Motion – adds subtle animation and movement without distraction
- Split – striking, editorial layouts that suit bold photographic styles.
To pick a Shopify theme, you’ll need to go to the Shopify theme store, where you can browse all the platform’s free and premium templates.
If you want even more control over how your work is displayed, you might also consider installing a gallery app. These let you create homepage portfolios, sliders, or thematic showcases that link directly to your products.
Popular options include:
- Photo Gallery by POWR
- XO Gallery
- Enorm Image Gallery.
Next up: turning your photos into products.
Download our free Shopify Startup Kit
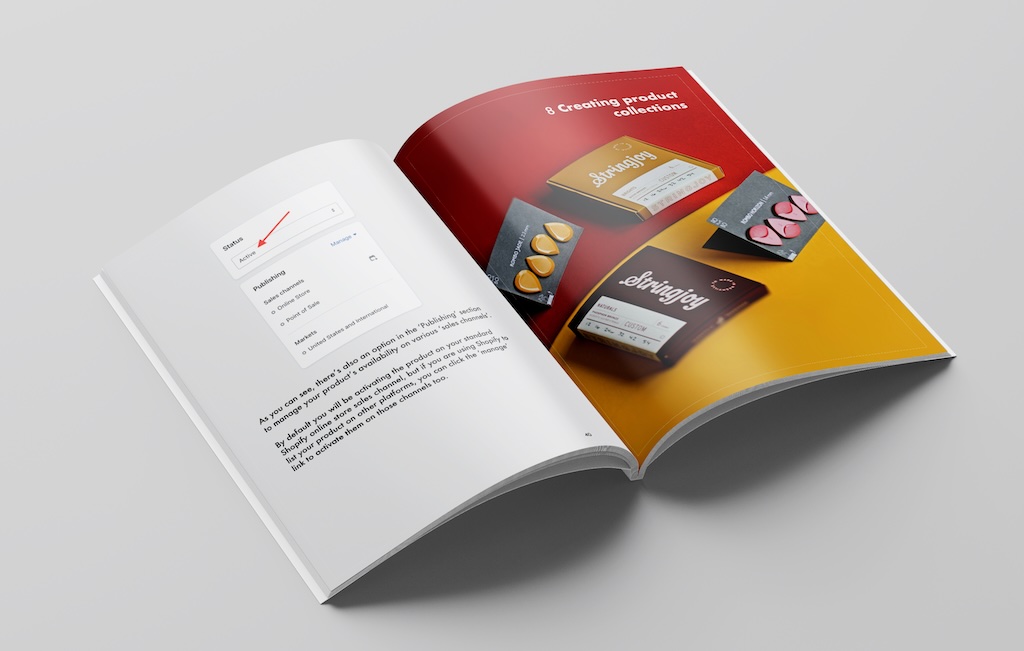

Our free Shopify Startup Kit is a must for anyone thinking of building an online store with Shopify. Containing a comprehensive e-book on starting a Shopify store, video tutorials, PDF cheatsheets and much more, it’s packed full of practical advice on how to get a Shopify business off the ground. It’s available for free to Style Factory readers — but for a limited time only.
5. Create and organize your photo products
Once you’ve chosen your theme and designed a layout that shows your work at its best, it’s time to start turning your images into actual products.
Each photo — or bundle of photos — should be listed as its own product in your store.
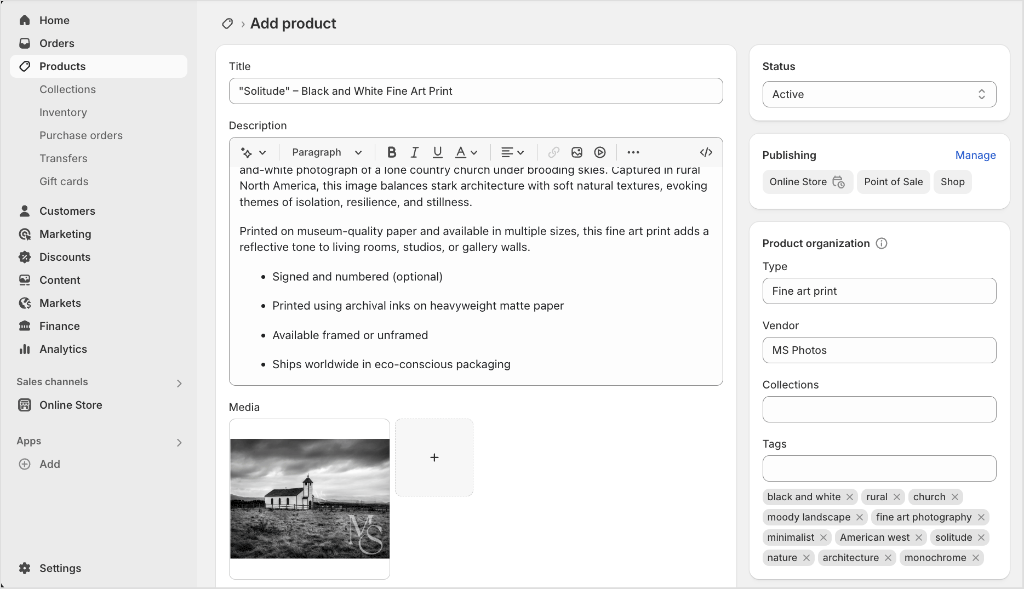
Whether you’re selling digital downloads, physical prints or both, the product setup process in Shopify is largely the same:
- Go to Products > Add Product.
- Add a title, description, and a preview image (e.g. a lower-res or watermarked version).
- Set your price.
- If it’s a digital product, disable shipping.
- Click Save.
As your store grows, it’s a good idea to organize your images into collections. Think of these as categories or visual albums — they help customers browse your store more easily and give you a way to group work by style, subject, or mood.
For example, you might want to create collections based on themes — for example ‘Nature,’ ‘Monochrome,’ ‘Black and White,’ or ‘Cityscapes.’
Or you might like to group your images based on format — for example, ‘Digital Downloads’ or ‘Wall Art Prints.’
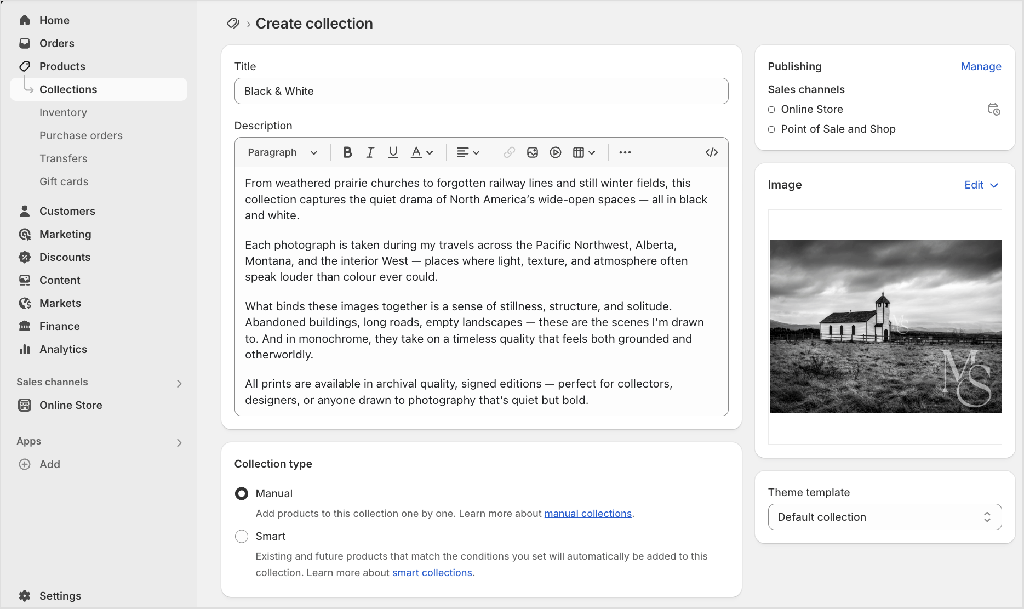
Either way, these are the steps you’ll need to take:
- Go to Products > Collections > Create Collection.
- Enter a title and optional description.
- Choose Manual (handpick items) or Smart (based on product tags).
- Add your products and click Save.
When adding your product titles, descriptions, and image alt text, try to include keywords that people might actually search for — like ‘black and white cityscape print’ or ‘minimalist mountain photography.’ This can make a real difference to how your work gets found in search engines.
💡 Tip: Once you’ve created your collections, link to important ones in your store’s main navigation. This makes browsing easier for customers, helps with SEO and gives your site a more polished, gallery-like feel.
Now that your product listings are in place, your next step is to decide how you’ll deliver your photos — either as digital downloads or printed products.
Let’s start with the digital option.
Offering your photos as digital downloads
Selling digital versions of your photos is one of the simplest ways to start making money online. There’s no printing, packaging or postage involved — and delivery happens automatically as soon as someone makes a purchase.
Shopify doesn’t offer digital file delivery out of the box, but you can easily enable it by installing its free ‘Digital Downloads’ app. Once installed, you’ll be able to upload your high-resolution image files to Shopify and have them sent securely to customers after payment.
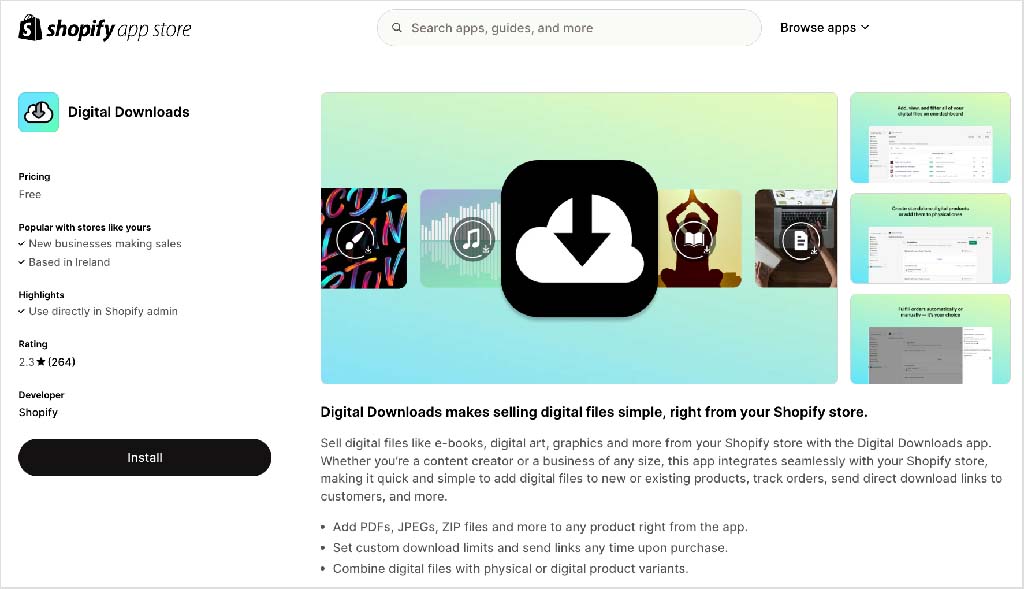
Here’s how to install the Digital Downloads app:
- In your Shopify dashboard, go to Apps and search for the Digital Downloads app
- Install the Digital Downloads app
- Open any product you’ve created
- Click More Actions > Add Digital Attachment
- Upload your high-resolution file (or a zipped folder if you’re including extras like a license or usage guide)
- Save your changes — your file will now be automatically sent to customers after they check out.
You can use this setup to deliver JPEGs, PNGs, TIFFs, zipped folders — pretty much anything under 5GB. And because the app doesn’t expose the download link until after payment, it gives you a layer of protection against casual misuse.
💡 Tip: If you need advanced features — like download expiry links, watermarked previews, or license gating — you might want to consider using premium apps like Fileflare and FetchApp.
As I mentioned earlier, you should make absolutely sure your licensing terms are clear. If you’re selling a file for personal use only, say so in the product description — and consider including a short licence note or PDF with your downloads.
Next up: how to sell physical prints using print-on-demand.
Selling photos using print-on-demand
If you’d like to offer physical prints of your photos — but don’t want to worry about storing inventory or handling shipping — print-on-demand (POD) is the way to go.
With POD, a supplier prints your images on demand, after a customer places an order. They handle all the production, packaging and delivery of your products — leaving you more time to focus on creating and curating your work.
Better still, these services let you add your photos to a surprisingly wide range of products. You’re not limited to posters and framed prints — you can also sell your photography on canvas wraps, clothing, home decor, stationery, tote bags, phone cases and plenty of other items.
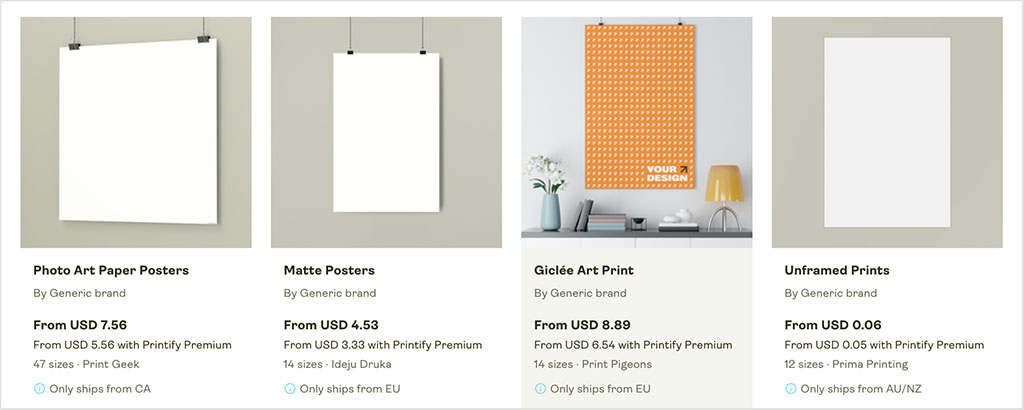
Shopify supports a wide variety of POD integrations, including Printify, Gelato, and Printful. For this guide, I’ll use Printful as the example — it’s well established, offers a great range of print formats and connects seamlessly with Shopify.

Here’s how you connect Printful to Shopify:
- Open a free Printful account.
- In Shopify, navigate to Apps, search for ‘Printful’, then click Install.
- Authorize the connection between your Shopify store and Printful.
- In Printful, click Add Product, choose a print format (e.g. framed poster, canvas).
- Upload your image, adjust placement, and set print sizes.
- Finalize your product, set a price, and sync it to your store.
Note: You’ll find a more in-depth guide on how to connect Printful to Shopify here, or you can watch my video walkthrough of the process below.
Printful and other POD apps also allow you to set different markups for different products — doing so lets you offer high-end, gallery-style prints at one price and more affordable, casual items (like postcards or shirts) at another.
(Just be thoughtful about how your image is used. A photo that looks great framed on a wall may not translate as well to a hoodie or coffee mug.)
💡 Tip: Before launching any new POD product, order a sample. This lets you test print quality, paper type, color accuracy, and packaging — all of which matter a lot to photography buyers.
Up next: how to combine physical and digital versions of your photos into themed bundles or multi-format offers.
Creating product bundles
If you want to increase the value of each sale — and give customers more reasons to buy your photos — bundling your products is a smart move.
For example, you might offer a high-resolution download plus a framed print, or pair a set of desktop wallpapers with a matching poster. Bundling is a simple way to cater to different types of buyers at once.

To create product bundles in Shopify, you’ll need to use an app. The free Shopify Bundles app is a great starting point for simple combinations, while paid apps like PickyStory offer more advanced functionality like mix-and-match sets or upsells.

Here are the steps you need to follow to create bundles in Shopify.
- Go to the apps section in your Shopify dashboard, search for the free Shopify Bundles app, and install it.
- Open the app and click Create bundle.
- Choose the products you want to group together — e.g., a digital download and a print-on-demand item.
- Set your bundle price, update the product title and description, and upload a preview image.
- Save and publish — your bundle will now appear as a single product in your store
💡 Tip: Use bundles to introduce exclusive combinations — for instance, a digital-only photo available only when purchased with a physical print.
Up next: how to actively promote your store and start attracting buyers.
6. Promote your photo store
Once your store is live, it’s time to start bringing in visitors — and ideally, turning them into customers.
There are plenty of ways to promote your photography without spending a fortune. Here are a few key ones to get you started:
- Perform search engine optimization (SEO) — this involves creating and configuring your content in a way that helps Google and other search engines rank your store highly in search results. Follow our Shopify SEO checklist to give your photo store the visibility boost it needs.
- Engage in content marketing — make use of Shopify’s built-in blogging tool to attract people to your photo store. By regularly posting engaging blog articles — for example, stories behind your shoots or photography tips — you can significantly improve your search rankings and bring more organic traffic to your site. Check out our guide to content marketing and our guide to to increasing blog traffic to learn more.
- Use email marketing — you can use Shopify’s built-in email tool, Shopify Email, to promote your photography, announce new print or download releases, and offer special discounts to subscribers. If you’re just starting out and don’t have many subscribers yet, our guide to growing an email list can help you get started.
- Use online advertising — Facebook Ads, TikTok and Google Ads can all get your photos in front of the people who like them most. For example, if you were a rock photographer selling pictures of artists you’ve photographed, you could use all three services to target fans of the artists in question.
7. Connect your photo store to other sales channels
A key way to increase the reach of your work is by listing your products on popular marketplaces, like Amazon, Etsy and eBay. You can do this with the Shopify Marketplace Connect app. It’s free to install and lets you:
- list your Shopify products on all supported marketplaces (Amazon, Target Plus, Walmart, eBay and Etsy)
- import orders from those marketplaces back into Shopify
- sync your inventory and product details automatically
- manage everything from your existing Shopify dashboard.
Marketplace Connect is free for your first 50 marketplace orders per month. After that, there’s a 1% fee per order, capped at $99/month.
If you want to sell through Facebook and Instagram, you’ll need to use a separate integration called Facebook & Instagram by Meta — available as a free sales channel in Shopify. This lets you sync your products to your Meta catalog and tag them in posts or stories.
💡 Tip: You don’t need to sell on every platform. Sometimes it makes sense to focus on one or two that suit your audience best — and expand as you grow.
8. Consider selling on stock photography sites
So far in this guide I’ve discussed how to sell photos using your own online store (or online marketplace profile).
There is another way to monetize your work however, and that’s by listing your photos on stock photography sites — the likes of Adobe Stock, Shutterstock and iStock.
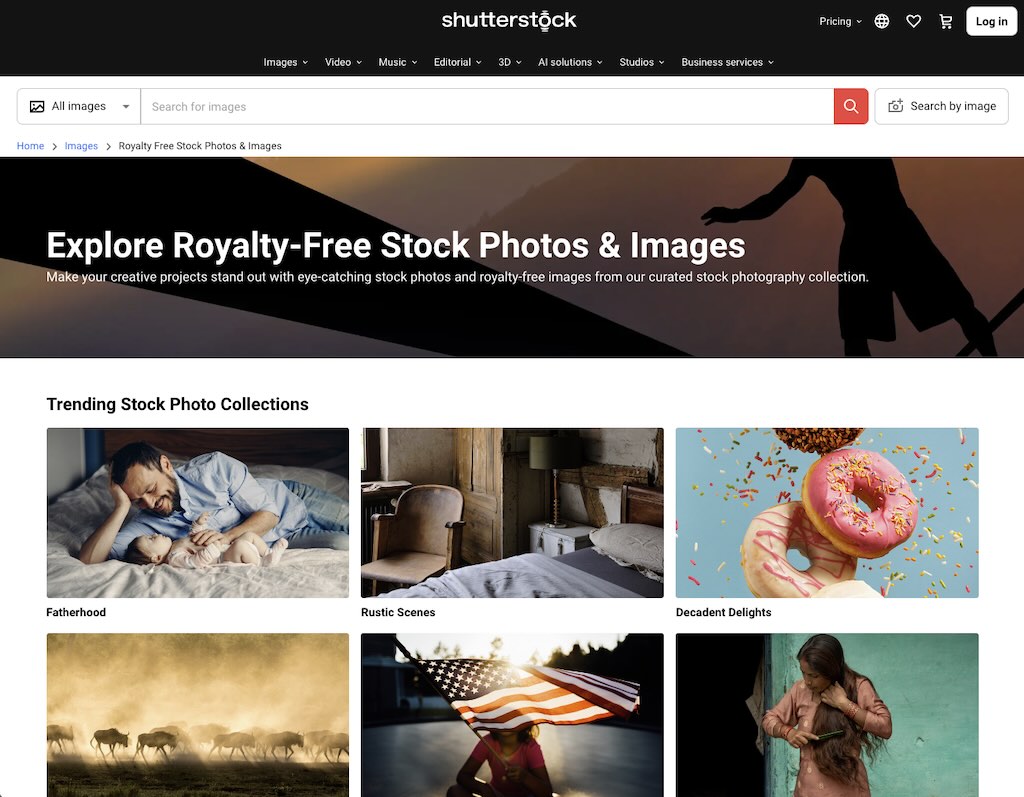
Now it has to be said that you won’t make as much money per image sold on these websites — but what you will get from them is access to a huge number of users quickly (building up a wide audience for your own online store can take quite a lot of time and, if you’re using paid ads, money).
To start selling on stock photography sites, you’ll usually need to create an account, verify your identity, and upload a few sample photos for review. If approved as a contributor, you can then start uploading high-quality, well-composed stock images that meet the site’s technical and legal standards (for example, model releases are usually required for photos featuring identifiable people). Every time one of these is sold, you will get a percentage of the fee charged.
Final thoughts on selling photos online
I hope you’ve found this guide on how to sell photos online useful.
Whether you’re selling lo-fi travel shots, still life photos shot in a beautifully-lit studio or even photos of feet (!), a few key principles always apply: start small. Protect your work. Use the tools that suit your style — and don’t be afraid to experiment!
And finally, if you have any queries about selling your photos online, don’t hesitate to drop them in the comments. We read them all and will do our best to help.
Get a host of excellent free resources now
For a limited time, we’re offering Style Factory readers some excellent free tools. Sign up below and immediately receive:
- our online store comparison chart
- extended free trials and discount codes for essential business apps
- a downloadable cheatsheet on how to create an online store
- our SEO, blogging and ‘how to start a business’ cheatsheets
- our latest newsletters on ecommerce and growing a business
No comments